4.7. Managing Volumes
A volume in Acronis Software-Defined Infrastructure is a virtual disk drive that can be attached to a VM. The integrity of data in volumes is protected by a redundancy mode specified in a storage policy.
Note
Additional virtual disks attached to VMs need to be initialized inside the guest OS by standard means before they can be used.
4.7.1. Creating, Editing, and Removing Volumes
To create a volume, do the following:
On the COMPUTE > VOLUMES tab, click Add volume.
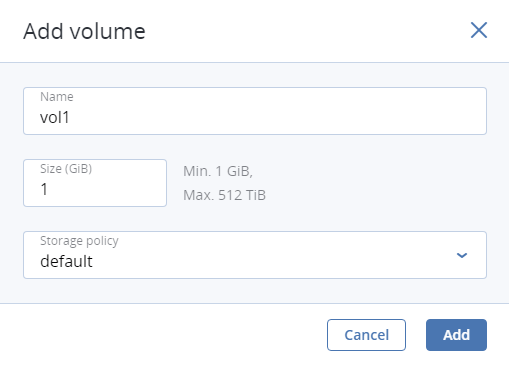
In the Add volume window, specify volume name and size in gigabytes; select a storage policy from the corresponding drop-down list; click Add.
To edit a volume, select it and click the pencil icon next to a parameter you need to change. You cannot shrink volumes. To extend volumes that are in use, stop the VM first.
To remove a volume, click the corresponding ellipsis button then click Delete. To remove multiple volumes at once, select them and click Delete. To remove a volume that is in use, detach it first.
4.7.2. Cloning Volumes
You can clone volumes that are not attached to VMs or attached to stopped VMs. To clone a volume, do the following:
On the COMPUTE > VOLUMES tab, click a volume.
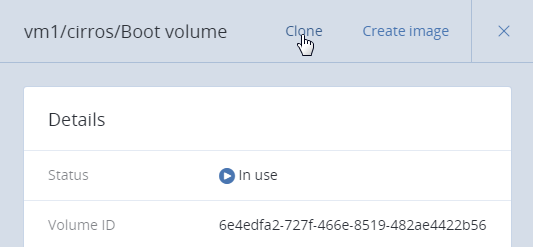
In volume details that open, click Clone.
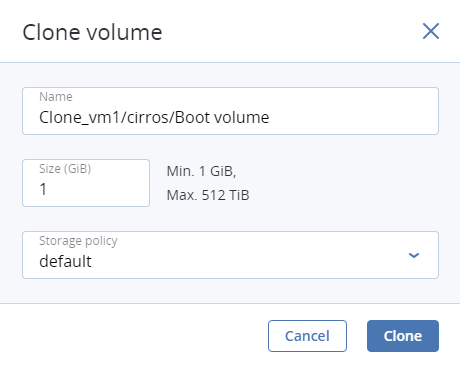
In the Clone volume window that opens, specify a volume name, size, and storage policy. Click Clone.
4.7.3. Attaching and Detaching Volumes
To add a writable virtual disk drive to a VM, attach a volume to it. To do this:
On the COMPUTE > VOLUMES tab, click the ellipsis button next to an unused volume and click Attach in the context menu.
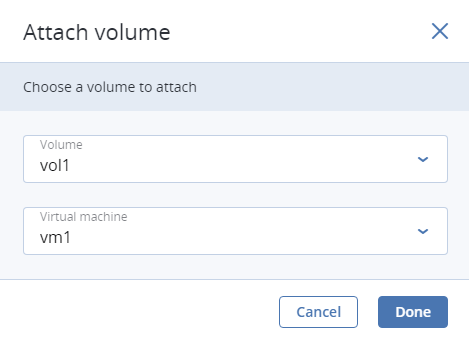
In the Attach volume window, select the VM from the drop-down list and click Done.
To detach a volume, do the following:
- Click the ellipsis button next to the volume that is in use.
- Click Detach to gracefully stop all operations and detach the volume; or click Force detach to immediately detach it with a risk of data loss.
4.7.4. Creating Images from Volumes
To create multiple VMs with the same boot volume, you can create an image from an existing boot volume and deploy VMs from it. Make sure to install cloud-init in the volume before creating the image.
Do the following:
Power off the VM that the original volume is attached to.
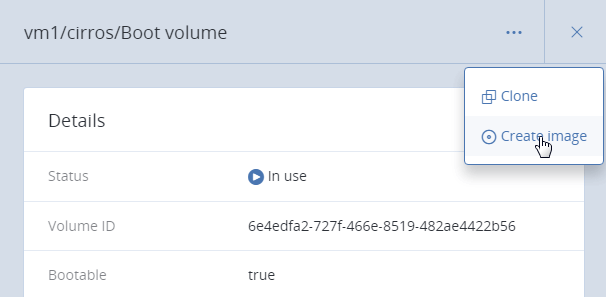
Switch to VOLUMES, click the volume, then click volume’s ellipsis button and Create image.
In the Create image window, enter an image name and click Create.
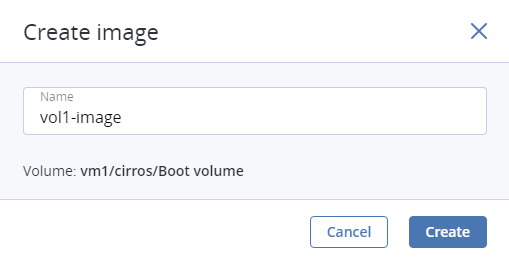
The new image will appear on the IMAGES tab.
