5.1. Exporting Storage via iSCSI
Acronis Software-Defined Infrastructure allows you to export cluster disk space to external operating systems and third-party virtualization solutions in the form of LUN block devices over iSCSI in a SAN-like manner.
In Acronis Software-Defined Infrastructure, you can create groups of redundant targets running on different storage nodes. To each target group you can attach multiple storage volumes with their own redundancy provided by the storage layer. These volumes are exported by targets as LUNs.
Each node in a target group can host a single target for that group if Ethernet is used or one target per FC port if Fibre Channel is used. If one of the nodes in a target group fails along with its target(s), healthy targets from the same group continue to provide access to the LUNs previously serviced by the failed target(s).
You can create multiple target groups on same nodes. A volume, however, may only be attached to one target group at any moment of time.
The figure below shows a typical setup for exporting Acronis Software-Defined Infrastructure disk space via iSCSI.
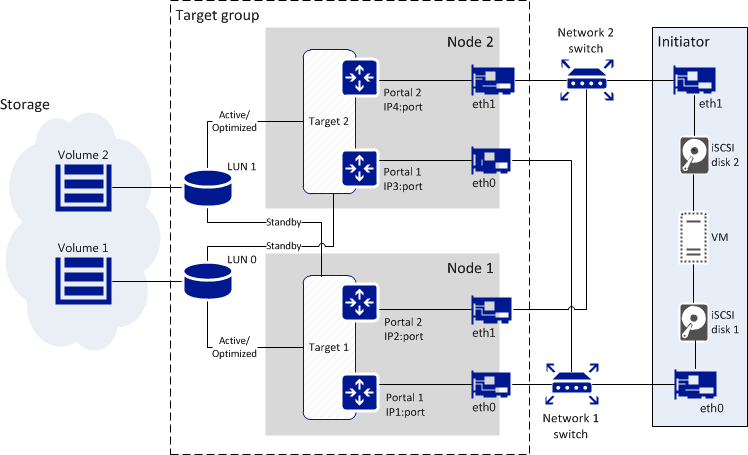
The figure shows two volumes located on redundant storage provided by Acronis Software-Defined Infrastructure. The volumes are attached as LUNs to a group of two targets running on Acronis Software-Defined Infrastructure nodes. Each target has two portals, one per network interface with the iSCSI traffic type, which makes a total of four discoverable endpoints with different IP addresses. Each target provides access to all LUNs attached to the group. Targets work in the ALUA mode, so one path to the volume is preferred and considered Active/Optimized while the other is Standby. Network interfaces eth0 and eth1 on each node are connected to different switches for redundancy. The initiator, e.g., VMware ESXi, is connected to both switches as well and provides volumes as iSCSI disks 1 and 2 to a VM via different network paths. If the Active/Optimized path becomes unavailable for some reason (e.g., the node with the target or network switch fails), the Standby path through the other target will be used instead to connect to the volume. When the Active/Optimized path is restored, it will be used again.
5.1.1. iSCSI Workflow Overview
The typical workflow of exporting volumes via iSCSI is as follows:
- Assign the network with the traffic type iSCSI to a network interface on each node that you will add to a target group. See Managing Networks and Traffic Types.
- Create a target group on chosen nodes. See Creating Target Groups.
- Create volumes and attach them to the target group as LUNs. Typically you do this while creating the target group. However, you can also do this later as described in Managing Volumes.
- Optionally, enable CHAP and ACL authorization for the target group: create CHAP accounts and assign them to the target group, populate group’s access control list. Typically, you do this while creating the target group. However, you can also do this later as described in Restricting Access to Target Groups.
- Connect initiators to targets using standard tools of your operating system or product. To view target IQNs, click the target group name.
5.1.2. Managing Target Groups
This section explains how to create and manage groups of iSCSI targets.
5.1.2.1. Creating Target Groups
Before you create any target groups, assign the network with the iSCSI traffic type to a network interface on each node that you will add to a target group.
To create a target group, open STORAGE SERVICES > Block storage > Target groups and click Create target group. A wizard will open where you need to do the following:
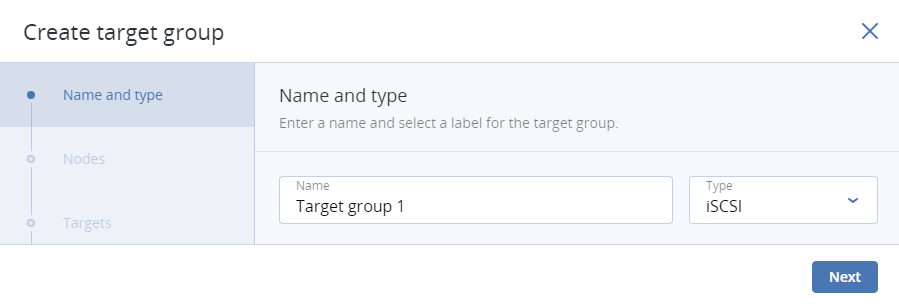
On Name and type, enter a target group name and select a type: iSCSI or Fibre Channel.
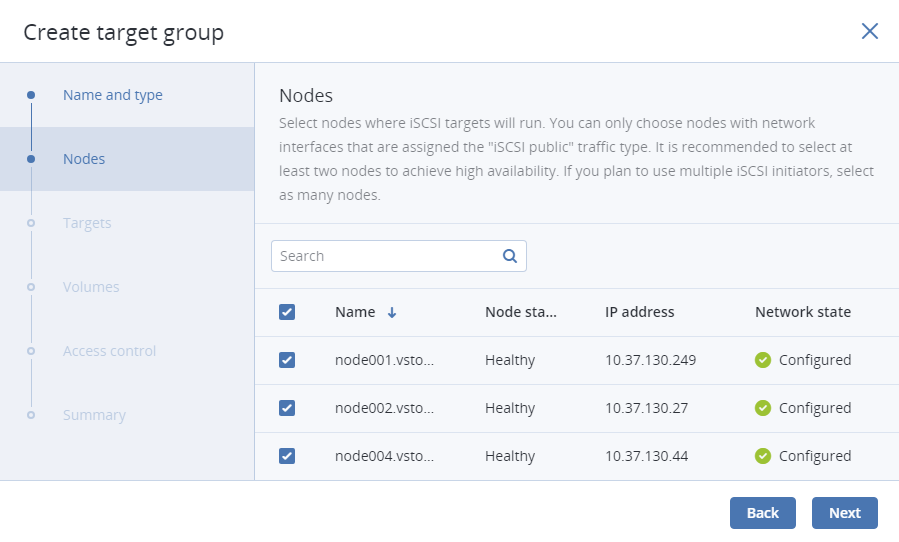
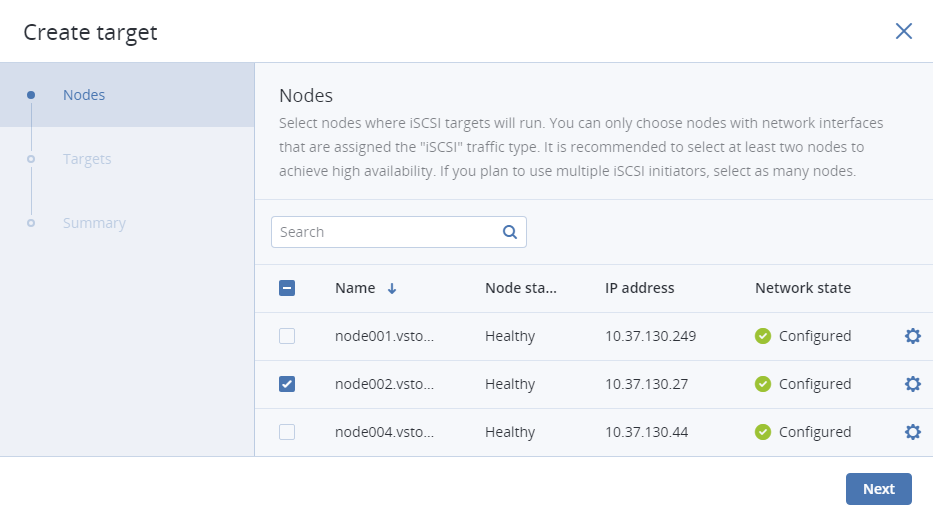
On Nodes, select nodes to add to the target group. On these nodes, iSCSI targets will run. You can only choose nodes with network interfaces that are assigned the iSCSI traffic type. It is recommended to have at least two nodes in the target group to achieve high availability. If you plan to use multiple iSCSI initiators, you should have as many nodes in the target group.
The optimal way is to create a single target per node if you use the iSCSI protocol and one target per FC port if you use the FC protocol.
If node network interfaces are not configured, click the cogwheel icon, select networks as required, and click Apply.
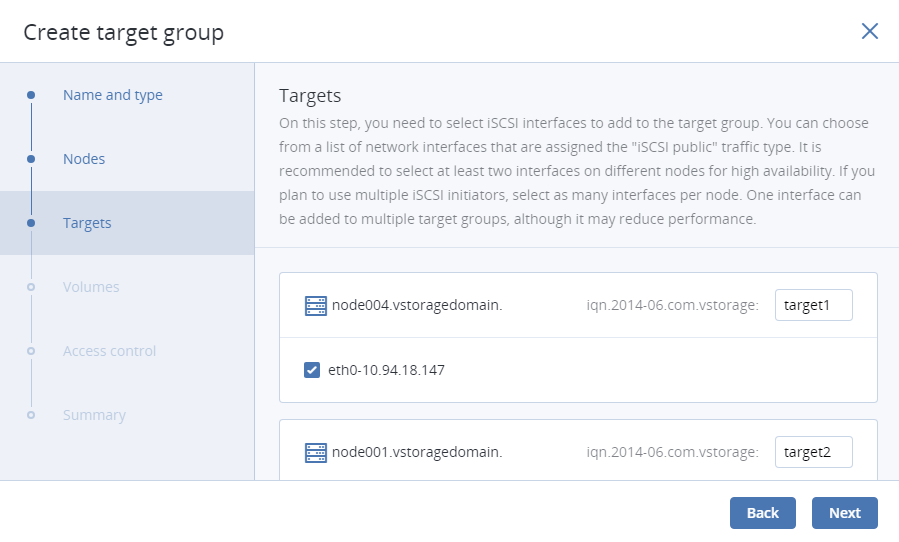
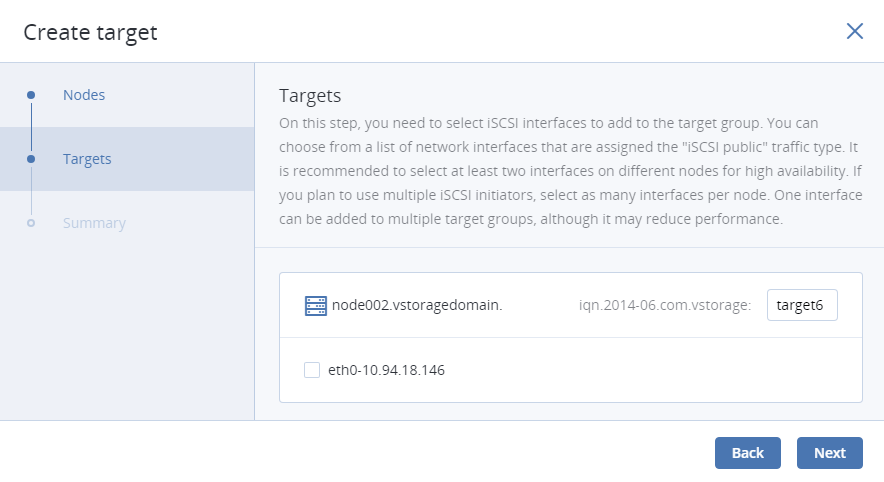
On Targets, select iSCSI interfaces to add to the target group. You can choose from a list of network interfaces that are assigned the iSCSI traffic type. If you plan to use multiple iSCSI initiators, you should select as many interfaces per node. One interface can be added to multiple target groups, although it may reduce performance.
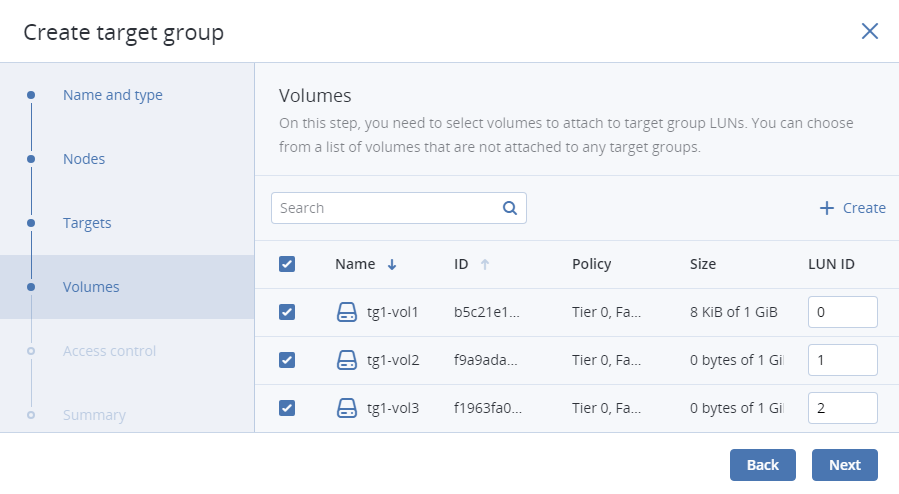
On Volumes, select volumes to attach to target group LUNs. You can choose from a list of volumes that are not attached to any target groups. If no volumes are available, you can create them on this step so they are attached to the target group automatically or later and attach them manually.
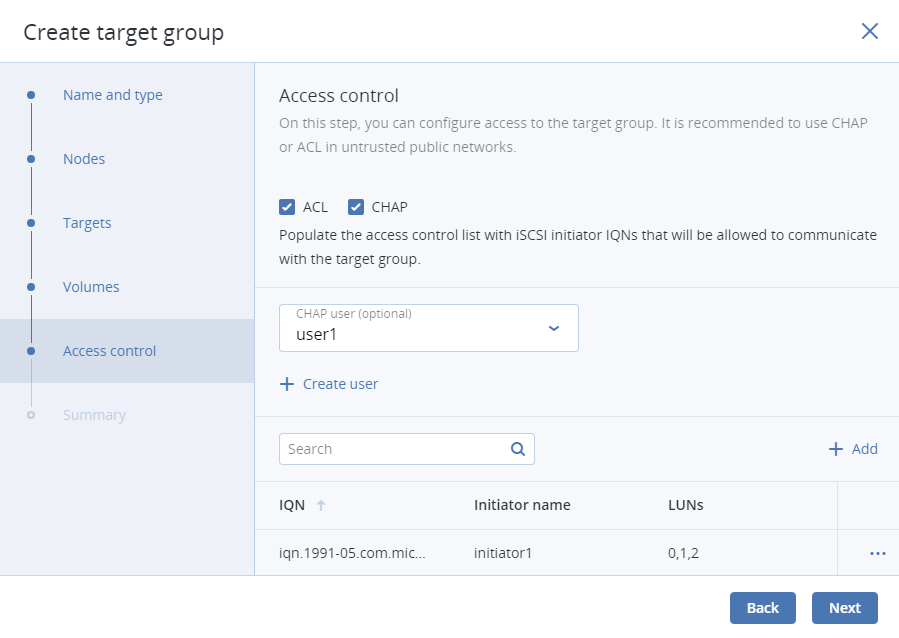
On Access control, configure access to the target group. It is recommended to use CHAP or ACL in untrusted public networks. Without access control, any connections to the target group are allowed. For more information, see Restricting Access to Target Groups.
On Summary, review the target group details. You can go back to change them if necessary. Click Create.
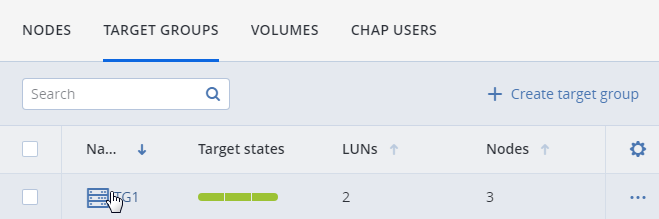
The created target group will appear on the TARGET GROUPS tab. Its targets will start automatically.
5.1.2.2. Adding Targets
To add a target to a target group, do the following:
Open STORAGE SERVICES > Block storage > TARGET GROUPS, click the name of the desired target group to open it.
On the Targets tab, click Add target. The Create target wizard will open.
On Nodes, select nodes to add to the target group. On these nodes, iSCSI targets will run. You can only choose nodes with network interfaces that are assigned the iSCSI traffic type. It is recommended to have at least two nodes in the target group to achieve high availability. If you plan to use multiple iSCSI initiators, you should have as many nodes in the target group.
The optimal way is to create a single target per node if you use the iSCSI protocol and one target per FC port if you use the FC protocol.
If node network interfaces are not configured, click the cogwheel icon, select networks as required, and click Apply.
On Targets, select iSCSI interfaces to add to the target group. You can choose from a list of network interfaces that are assigned the iSCSI traffic type. If you plan to use multiple iSCSI initiators, you should select as many interfaces per node. One interface can be added to multiple target groups, although it may reduce performance.
On Summary, review the target details. You can go back to change them if necessary. Click Next.
The created target will appear on the Targets tab.
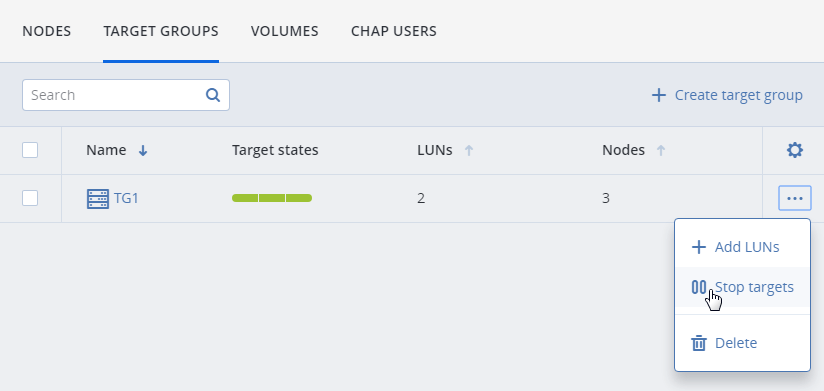
5.1.2.3. Starting and Stopping Targets
To start or stop all targets in a target group, open STORAGE SERVICES > Block storage > TARGET GROUPS, click the ellipsis icon of the desired target group, and click Start targets or Stop targets, respectively.
5.1.2.4. Deleting Targets
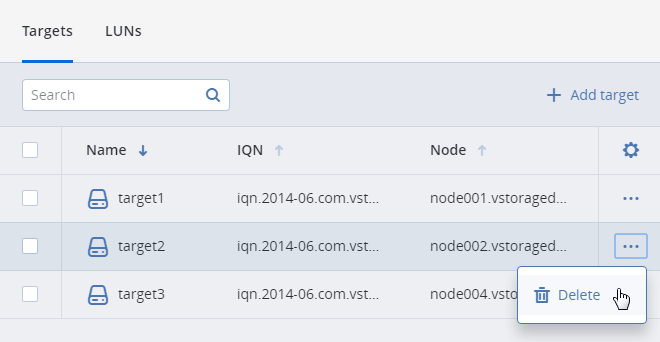
To delete a target from a target group, do the following:
Open STORAGE SERVICES > Block storage > TARGET GROUPS, click the name of the desired target group to open it.
On the Targets tab, click the ellipsis button of the desired target then click Delete.
If you delete a target on the Active/Optimized path (indicated in LUN details), said path will switch to another target.
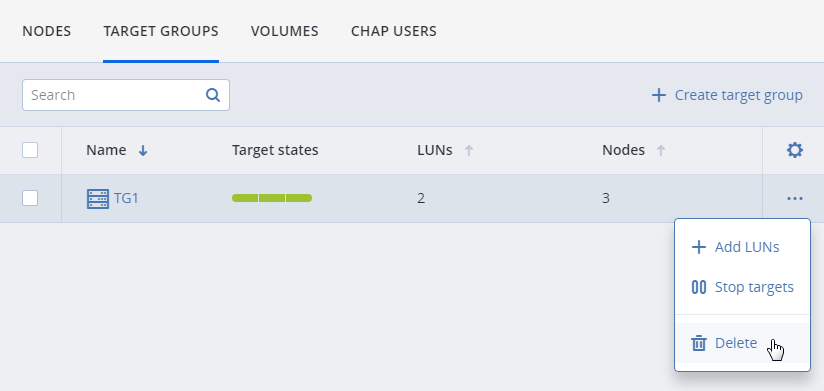
5.1.2.5. Deleting Target Groups
To delete a target group, open STORAGE SERVICES > Block storage > TARGET GROUPS, click the ellipsis icon of the desired target group, and click Delete.
5.1.3. Managing Volumes
This section describes how to create and manage volumes to be exported via iSCSI.
5.1.3.1. Creating Volumes
While it is convenient to create desired volumes while creating a target group, you can also do this at any time afterwards:
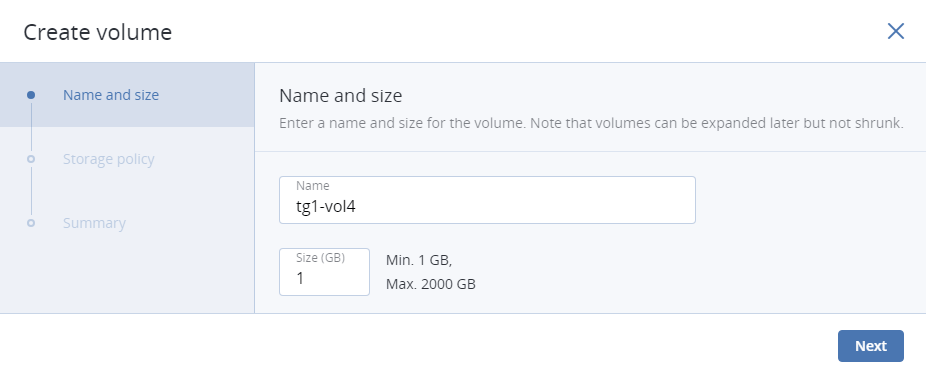
Open STORAGE SERVICES > Block storage > VOLUMES and click Create volume. A corresponding wizard will open.
On Name and size, enter a volume name and specify a size in gigabytes. Note that volumes can be extended later but not shrunk.
On Storage policy, select a redundancy mode, a storage tier, and a failure domain. To benefit from high availability, select a mode other than No redundancy and failure domain other than Disk.

On Summary, review the volume details. You can go back to change them if necessary. Click Create.
5.1.3.2. Attaching Volumes to Target Groups
To add a volume as a LUN to a target group, do the following:
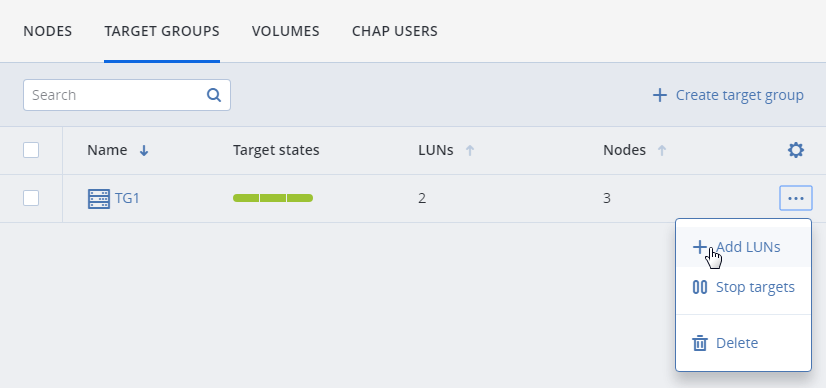
Open STORAGE SERVICES > Block storage > TARGET GROUPS, click the ellipsis icon of the desired target group, and click Add LUNs.
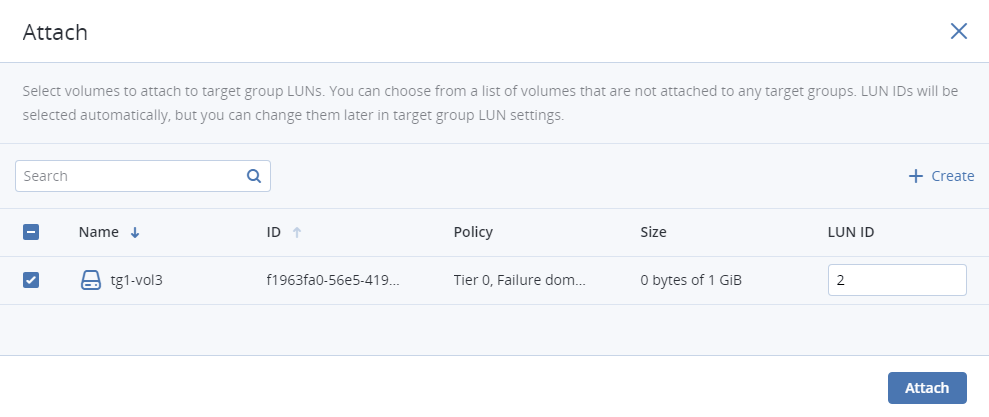
In the Attach window that opens, select volumes to attach to the target group (create them if needed) and click Attach.
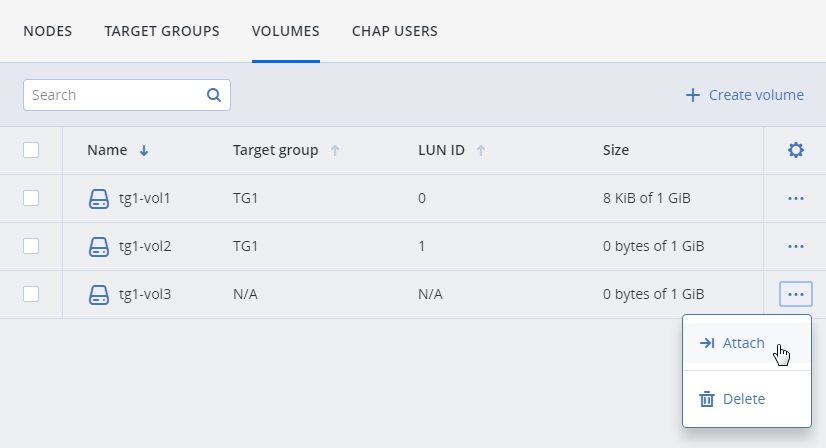
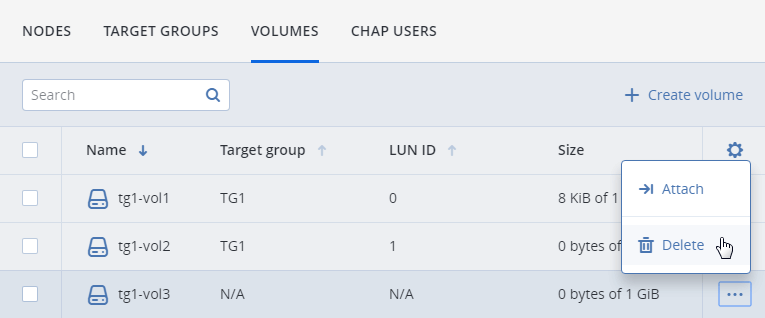
Alternatively, you can do the same on the VOLUMES tab:
Click the ellipsis icon of the desired volume then click Attach.
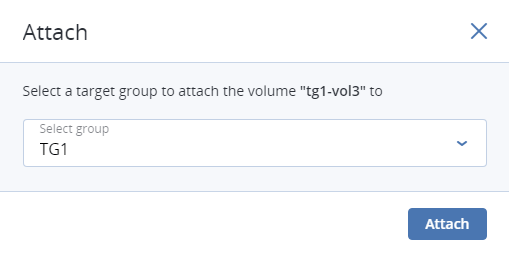
In the Attach window that opens, select a target group and click Attach.
5.1.3.3. Setting LUN Limits
To set a read/write limit for a volume attached to a target group as a LUN, do the following:
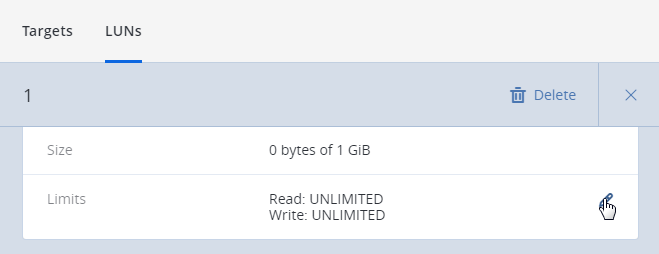
Open STORAGE SERVICES > Block storage > TARGET GROUPS, click the name of the desired target group to open it, and switch to LUNs.
Click the desired LUN to open its details, then click the Limits pencil icon.
In the Set LUN limit window that opens, enter limit values and click Save.
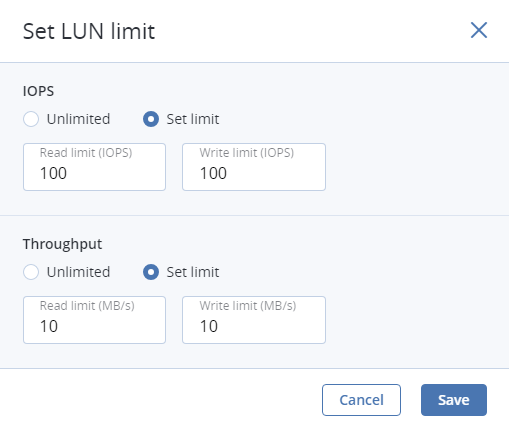
Set limits will be shown in LUN details.
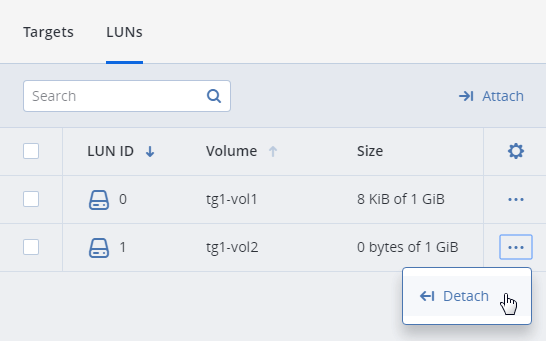
5.1.3.4. Detaching Volumes
To detach a volume from a target group, do the following:
Open STORAGE SERVICES > Block storage > TARGET GROUPS, click the name of the desired target group to open it, and switch to LUNs.
Click the ellipsis button of the desired LUN then click Detach.
Alternatively, you can open STORAGE SERVICES > Block storage > VOLUMES, click the ellipsis icon of the desired volume, and click Detach.
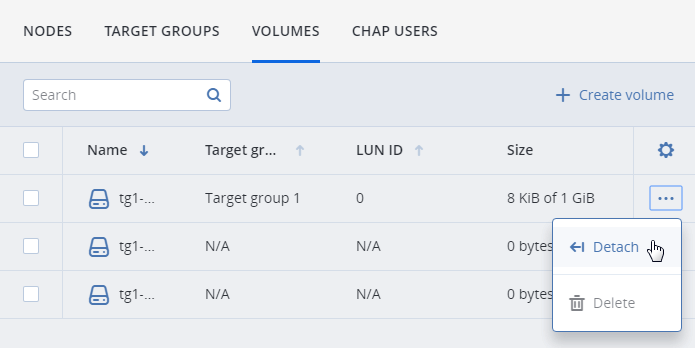
5.1.3.5. Deleting Volumes
To delete a volume that is not attached to a target group, open STORAGE SERVICES > Block storage > VOLUMES, click the ellipsis icon of the desired volume, and click Delete.
5.1.4. Restricting Access to Target Groups
You can restrict access to entire target groups (and all volumes attached to them) by way of ACL-based authorization as well as password-based authentication (CHAP).
5.1.4.1. Managing Access Control Lists
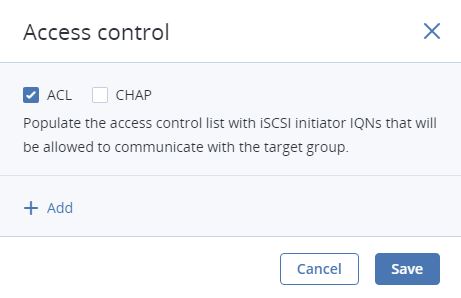
An access control list (ACL) limits access to chosen LUNs for specific initiators. Initiators not on the list have access to all LUNs in iSCSI target groups. Volumes exported via Fibre Channel target groups, however, can only be accessed by initiators that are added to group ACL.
To add an initiator to a target group’s ACL, do the following:
Open STORAGE SERVICES > Block storage > TARGET GROUPS and click the desired target group in the list (anywhere except group’s name).
In group details that open, click Access control and then click the pencil icon.
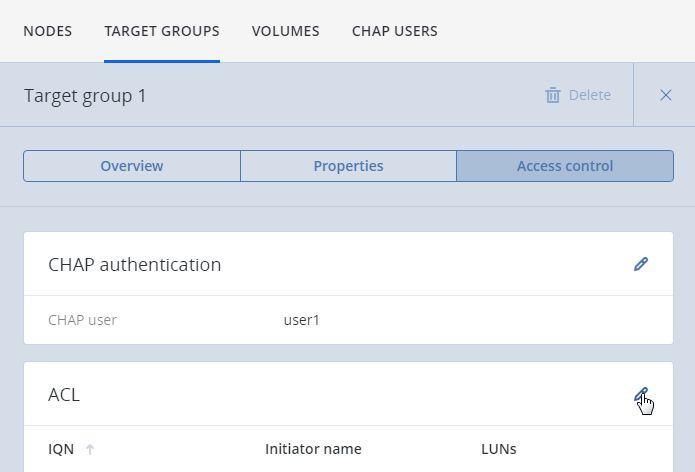
In the Access control window that opens, check the ACL box and click Add.
In the window that opens, specify initiator’s IQN, enter an alias, select LUNs that it will be able to access. Click Add. The initiator will appear in the ACL.
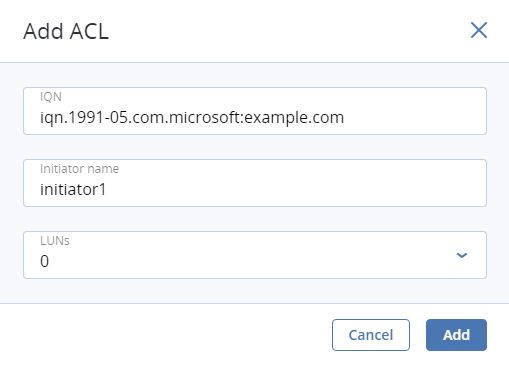
Having populated the ACL with initiators, click Save.
To edit or delete initiators in the ACL, click the pencil icon in target group details. In the Access control window that opens, click the pencil icon of the desired initiator then click Edit or Delete. Having changed the ACL, click Save.
5.1.4.2. Managing CHAP Users
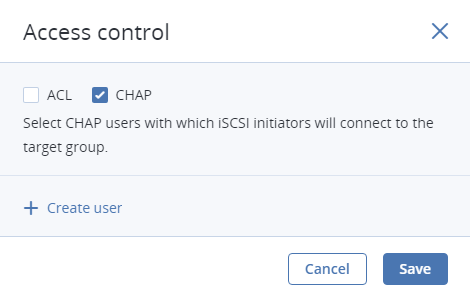
The Challenge-Handshake Authentication Protocol (CHAP) provides a way to restrict access to targets and their LUNs by requiring a user name and a password from the initiator. CHAP accounts apply to entire target groups. Fibre Channel target groups do not use CHAP.
To restrict access to a target group to a specific CHAP user, do the following:
Open STORAGE SERVICES > Block storage > TARGET GROUPS and click the desired target group in the list (anywhere except group’s name).
In group details that open, click Access control and then click the pencil icon.
In the Access control window that opens, check the CHAP box and click Create user.
In the Create CHAP user window that opens, enter a user name and a password (12 to 16 characters long). Click Create.
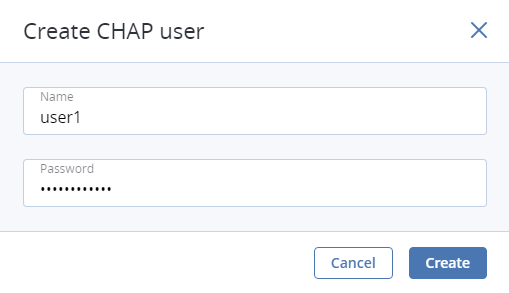
Back on the Access control screen, select the desired CHAP user and click Save.

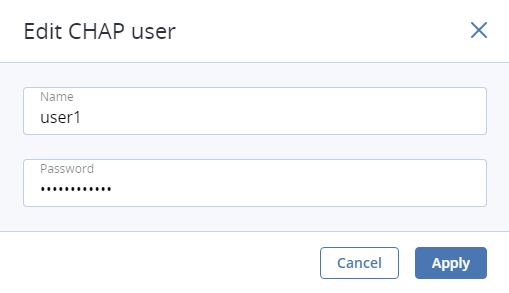
To change the password of a CHAP user, open STORAGE SERVICES > Block storage > CHAP USERS, click a user to open details, and click the pencil icon. In the Edit CHAP user window that opens, specify a new password and click Apply.
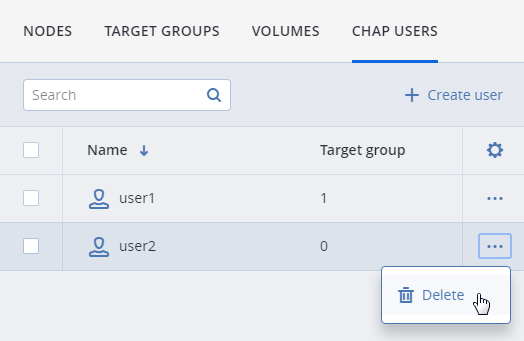
To delete a CHAP user that is not added to any ACLs, open STORAGE SERVICES > Block storage > CHAP USERS, click the ellipsis icon of the user, and click Delete.