3.4. Managing node location
The location for a node can be selected when Acronis Cyber Infrastructure is installed on it. By default, the nodes are added to the Default rack in the Default row in the Default room.
Locations are designed to be used as failure domains. For more information, refer to Understanding failure domains.
3.4.1. Creating locations
To create a new location do the following:
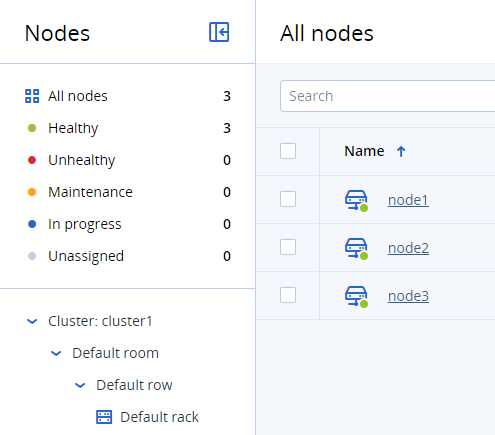
On the Infrastructure > Nodes screen, click the icon
 to show the node filters and location (if hidden).
In the location sidebar, click the top of the tree with the cluster name.
Click the Create room toolbar button and enter the room name.
To add a new row, click the created room. Click the Create row button and enter a name for it.
To add a new rack, click the created row. Click the Create rack button and enter a name for it. You can now move nodes to this rack.
3.4.2. Renaming locations
To rename a location do the following:
- On the Infrastructure > Nodes screen, click the icon to show the node filters and location (if hidden).
- In the location sidebar, click the parent location for the item you want to rename. For example, click the row if you want to rename a rack in it.
- In the list, click the required location. On the right pane, click Rename and enter a new name.
The location will be renamed.
Note
You can rename the room, row, and rack locations. For example, you can rename rack to chassis to match your actual server location. For more information, refer to vinfra location rename.
3.4.3. Deleting locations
Note
You can only delete empty locations. If a location contains some nodes, move them first. The default location cannot be deleted as well. However, you can rename it to match your infrastructure.
To delete a location do the following:
- On the Infrastructure > Nodes screen, click the icon to show the node filters and location (if hidden).
- In the location sidebar, click the parent location for the item you want to delete. For example, click the row if you want to delete a rack from it.
- In the list, click the required location. On the right pane, click Delete.
The location will be deleted.
3.4.4. Moving nodes to a new location
Note
The location can be changed for unassigned nodes only. If the node makes part of a cluster, release it first as described in Releasing nodes from the storage cluster. After moving it, you will be able to join it back to the cluster.
- On the Infrastructure > Nodes screen, there are two ways to move a node to a new location. Either from the node location tree, you can select the rack to move the node to, and click Move nodes. Or you can click the line with a node to move, and click Move node on the right pane.
- In the Move nodes window, select the required node/location and click Move.
- You can now join this node to the cluster. To do this, click the line with the node, and on the right pane click Join to cluster. Click Join in the open window.
The node will be moved to the specified location.