10.7. Configuring the self-service panel
The self-service panel is a web-based control panel that allows end users to manage virtual objects, such as virtual machines, volumes, and virtual networks, in isolated administrative environments.
10.7.1. Providing access to the self-service portal
Note
The default system administrator cannot log in to the self-service portal.
To be able to access the self-service panel and manage virtual objects in it, do the following:
- Create the compute cluster, as described in Creating the compute cluster.
- Create new domains, projects, and user accounts, as described in Managing domains, users, and projects.
- Share the needed compute images between all projects or grant the permission to upload images to domain administrators and project members.
- Make sure the compute cluster has at least one virtual public network.
- Open TCP port 8800 on the management node by doing the following:
- On the Infrastructure > Networks screen, click Edit.
- Add the Self-service panel traffic type to your public network by selecting the corresponding check box.
- Click Save to apply changes.
You can now access the self-service panel at http://<admin_panel_IP_address>:8800. Use the domain name and user credentials to log in. If high availability for the management node is enabled, log in into the self-service panel by using the virtual address for the admin panel: http://<admin_panel_virtual_IP_address>:8800. You can also use the link in the Self-service panel URL field on the Settings > Self-service screen.

To change the virtual IP address of the self-service panel, do the following:
Make sure high availability for the management node is enabled (refer to Enabling management node high availability).
On the Settings > Self-service screen, click the pencil icon next to the Self-service panel IP address field.
In the Edit virtual IP address window, enter the desired IP address, and then click Save.
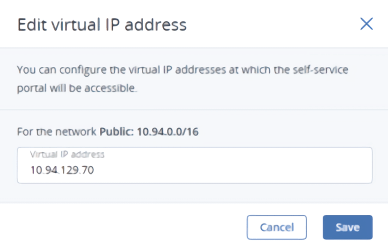
Note
You cannot change the virtual IP address, if the Self-service panel traffic type is assigned along with Compute API or Internal management to the same network. In this case, you need to destroy the management node HA and re-create it by specifying the desired IP address.
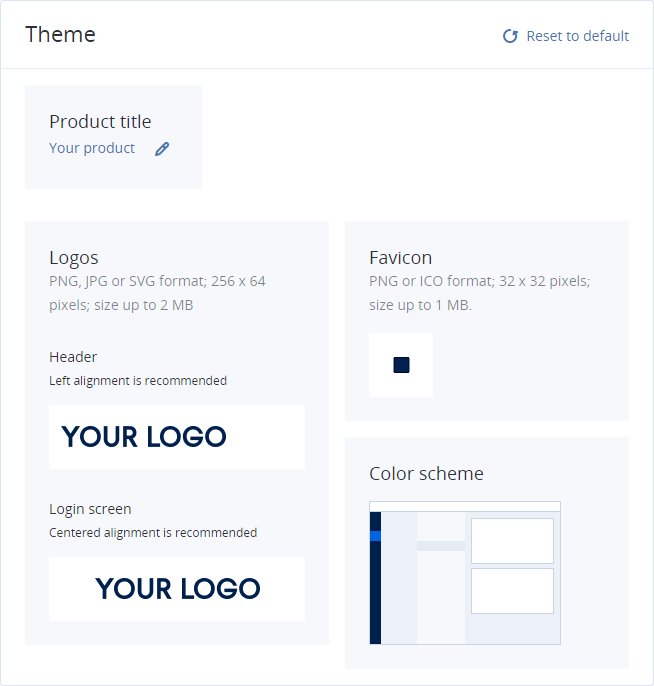
10.7.2. Customizing the self-service panel
On the Settings > Self-service screen, you can configure the self-service panel appearance. Do the following:
- In the Product title section, click the pencil icon to change the product title displayed on the self-service web-browser tab. In a window that opens, specify a product title, and then click Save.
- In the Logos section, you need to upload two versions of the same logo: left-aligned and centered. Under Header, click Upload or the image displayed, and then browse to the left-aligned logo version. This image will be used as the panel header. Then, under Login screen, click Upload or the image displayed, and browse to the centered logo. It will be used at the login screen. The images must be 256 x 64 pixels in dimensions and up to 2 MB in size. The following image formats are supported: PNG, JPG, or SVG. In case of PNG, a transparent background is recommended.
- In the Favicon section, click the upload icon to upload a favicon for the self-service panel and select an image file in the PNG or ICO format. The image must be 32 x 32 pixels in dimensions and up to 1 MB in size.
- In the Color scheme section, click Change scheme to choose a color scheme for the self-service panel. In the window that opens, choose the desired color scheme, and then click Apply.
To remove the chosen product title, logos, and favicon from the self-service and reset the theme to default, click Reset to default.