7.3. Managing target groups
This section explains how to create and manage groups of iSCSI targets.
7.3.1. Creating target groups
Before you create any target groups, assign the network with the iSCSI traffic type to a network interface on each node that you will add to a target group.
To create a target group, do the following:
Open Storage services > Block storage > Target groups, and then click Create target group. The Create target group wizard will open.
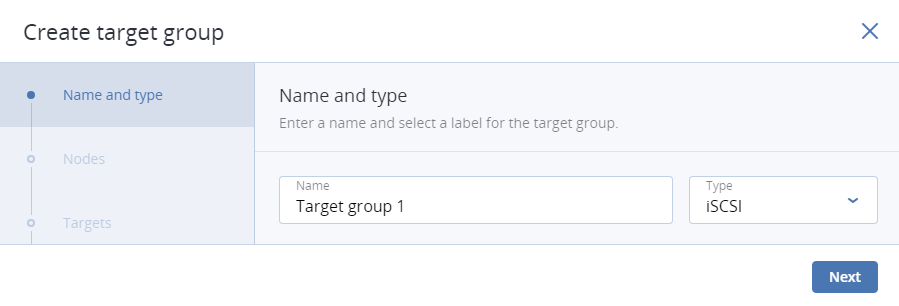
On Name and type, enter a target group name and select a type: iSCSI or Fibre Channel.
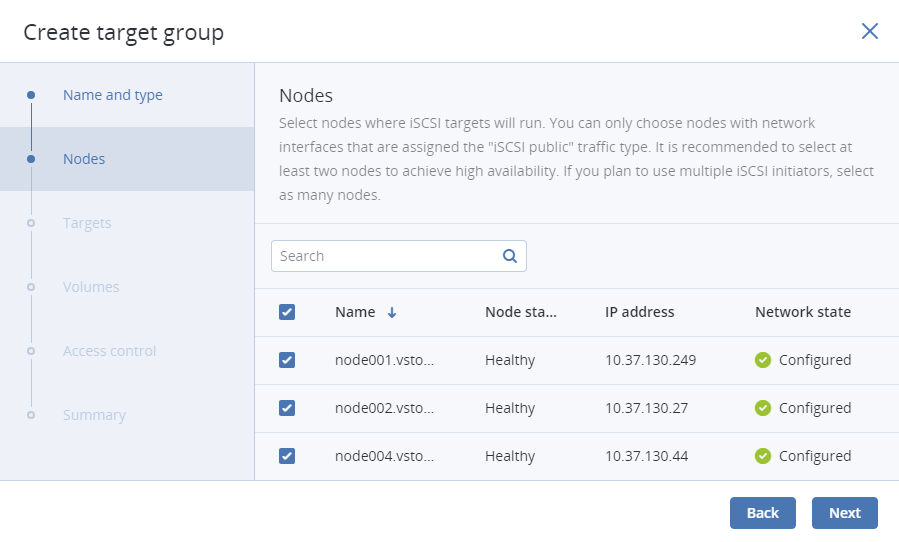
On Nodes, select nodes to add to the target group. On these nodes, iSCSI targets will run. You can only choose nodes with network interfaces that are assigned the iSCSI traffic type. It is recommended to have at least two nodes in the target group to achieve high availability. If you plan to use multiple iSCSI initiators, you should have as many nodes in the target group.
The optimal way is to create a single target per node if you use the iSCSI protocol and one target per FC port if you use the FC protocol.
If the node network interfaces are not configured, click the cogwheel icon, select the networks as required, and then click Apply.
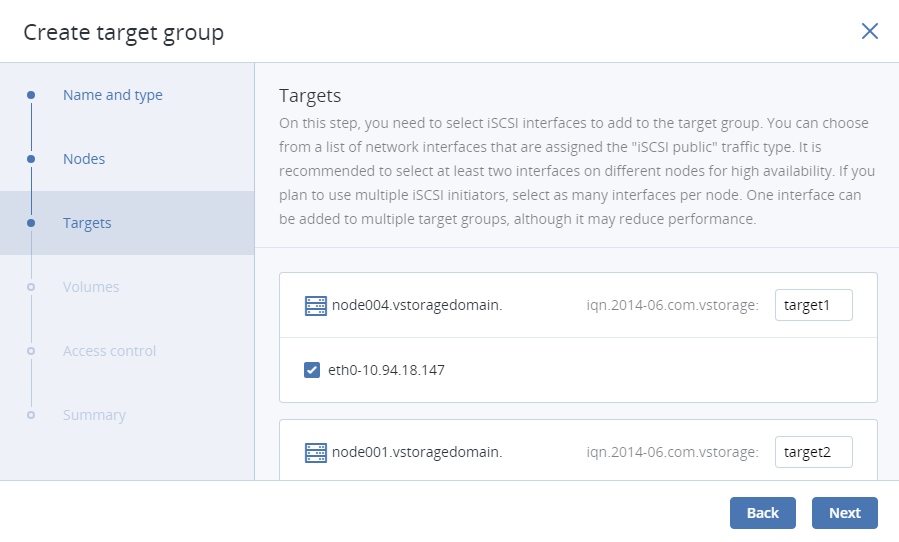
On Targets, select iSCSI interfaces to add to the target group. You can choose from a list of network interfaces that are assigned the iSCSI traffic type. If you plan to use multiple iSCSI initiators, you should select as many interfaces per node. One interface can be added to multiple target groups, although it may reduce performance.
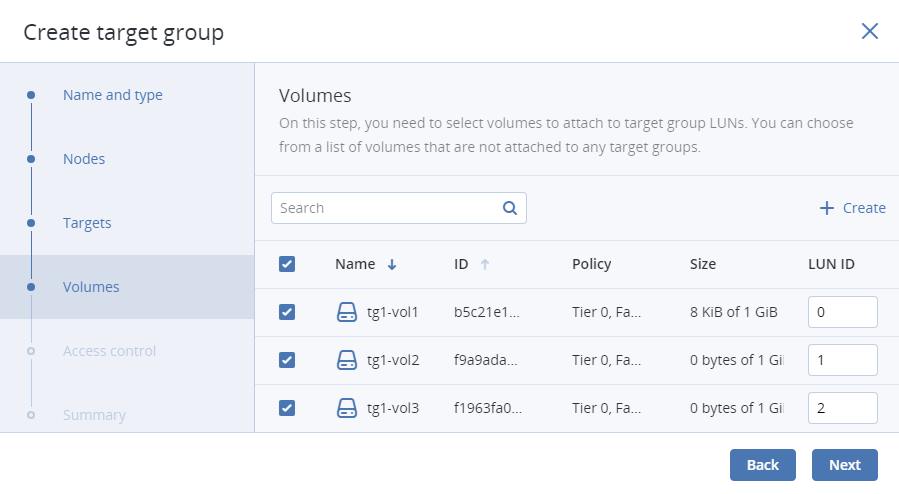
On Volumes, select volumes to attach to target group LUNs. You can choose from a list of volumes that are not attached to any target groups. If no volumes are available, you can create them on this step so they are attached to the target group automatically, or attach them manually later.
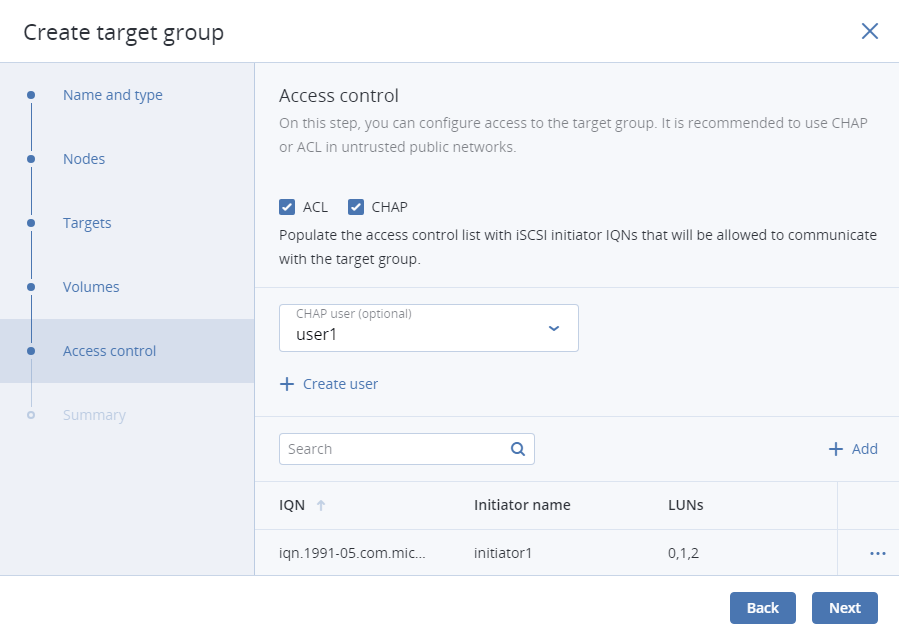
On Access control, configure access to the target group. It is recommended to use CHAP or ACL in untrusted public networks. Without access control, any connections to the target group are allowed. For more information, refer to Restricting access to target groups.
On Summary, review the target group details. You can go back to change them if necessary. Click Create.
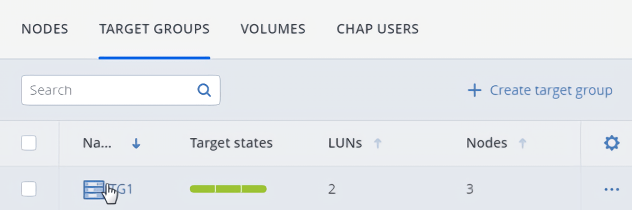
The created target group will appear on the Target groups tab. Its targets will start automatically.
7.3.2. Adding targets
To add a target to a target group, do the following:
Open Storage services > Block storage > Target groups, and then click the name of the desired target group to open it.
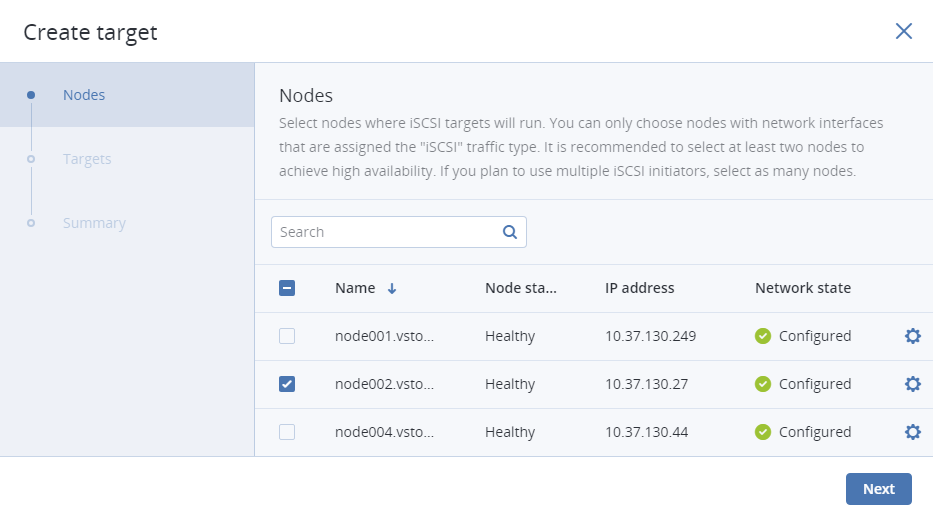
On the Targets tab, click Add target. The Create target wizard will open.
On Nodes, select nodes to add to the target group. On these nodes, iSCSI targets will run. You can only choose nodes with network interfaces that are assigned the iSCSI traffic type. It is recommended to have at least two nodes in the target group to achieve high availability. If you plan to use multiple iSCSI initiators, you should have as many nodes in the target group.
The optimal way is to create a single target per node if you use the iSCSI protocol and one target per FC port if you use the FC protocol.
If the node network interfaces are not configured, click the cogwheel icon, select the networks as required, and then click Apply.
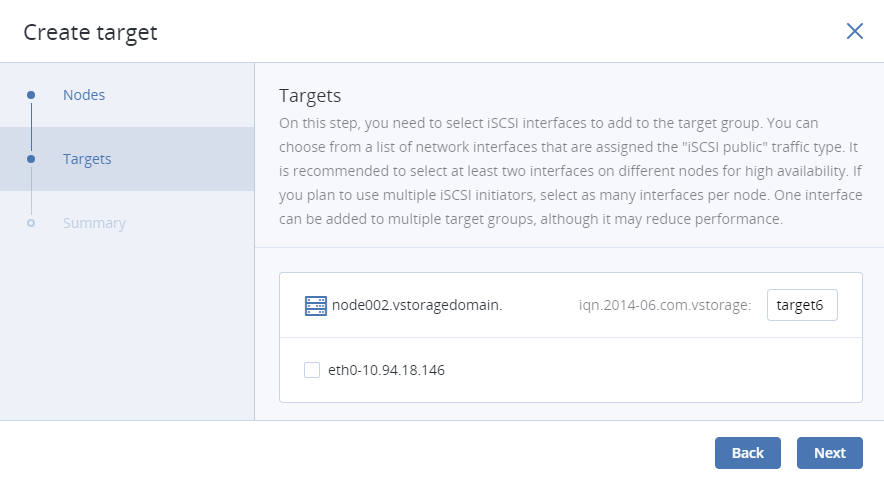
On Targets, select iSCSI interfaces to add to the target group. You can choose from a list of network interfaces that are assigned the iSCSI traffic type. If you plan to use multiple iSCSI initiators, you should select as many interfaces per node. One interface can be added to multiple target groups, although it may reduce performance.
On Summary, review the target details. You can go back to change them, if necessary. Click Next.
The created target will appear on the Targets tab.
7.3.3. Starting and stopping targets
To start or stop all targets in a target group, open Storage services > Block storage > Target groups, click the ellipsis icon of the desired target group, and then click Start targets or Stop targets.
7.3.4. Deleting targets
To delete a target from a target group, do the following:
- Open Storage services > Block storage > Target groups and click the name of the desired target group to open it.
- On the Targets tab, click the ellipsis button of the desired target, and then click Delete.
- Click Delete in the confirmation window. Select the Force check box to delete a target with active connections.
If you delete a target on the Active/Optimized path (indicated in LUN details), that path will switch to another target.
7.3.5. Deleting target groups
To delete a target group, do the following:
- Open Storage services > Block storage > Target groups, click the ellipsis icon of the desired target group, and then click Delete.
- Click Delete in the confirmation window. Select the Force check box to delete a target group with active connections.