Creating virtual machines
Limitations
-
Virtual machines are created with the host CPU model, by default. Having compute nodes with different CPUs may lead to live migration issues. To avoid them, you can manually set the CPU model for all new VMs, as described in "Setting virtual machine CPU model" in the Administrator Command Line Guide. Alternatively, you can create a placement for each group of compute nodes with the same CPU model by using the instructions in Managing placements for compute nodes.
Prerequisites
- You have a guest OS source prepared, as described in Preparing boot media for virtual machines.
- One or more compute networks are created automatically during the compute cluster deployment or manually by using the instructions in Creating compute networks.
- (Optional) You have a custom flavor created, as described in Creating custom flavors for virtual machines. You can also use pre-configured flavors.
- (Optional) An SSH key is added to the compute cluster, as outlined in Adding SSH keys for virtual machines. You can specify an SSH key only when creating VMs from a template or boot volume.
- (Optional) A custom storage policy is created for volumes, as described in Managing storage policies.
To create a virtual machine
-
On the Compute > Virtual machines > Virtual machines tab, click Create virtual machine. A window will open where you will need to specify the VM parameters.
- Specify a name for the new VM.
-
Select the VM boot media:
-
 If you have an ISO image or a template
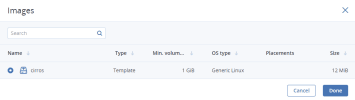
- Select Image in the Deploy from section, and then click Specify in the Image section.
-
In the Images window, select the ISO image or template, and then click Done.
-
If you have a compute boot volume
- Select Volume in the Deploy from section, and then click Specify in the Volumes section.
- In the Volumes window, click Attach.
-
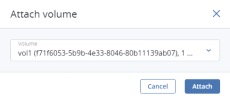
In the Attach volume window, find and select the volume, and then click Attach.
If you attach more than one volume, the first attached volume becomes the boot volume, by default. To select another volume as bootable, place it first in the list by clicking the up arrow button next to it.
After selecting the boot media, volumes required for this media to boot will be automatically added to the Volumes section.
-
-
Configure the VM disks:
- In the Volumes window, make sure the default boot volume is large enough to accommodate the guest OS. Otherwise, click the ellipsis icon next to it, and then Edit. Change the volume size and click Save.
- (Optional) Add more disks to the VM by creating or attaching volumes. To do this, click the pencil icon in the Volumes section, and then Add or Attach in the Volumes window.
- Select volumes that will be removed during the VM deletion. To do this, click the pencil icon in the Volumes section, click the ellipsis icon next to the needed volume, and then Edit. Enable Delete on termination and click Save.
- When you finish configuring the VM disks, click Done.
-
(Optional) If you have any placements, the Placement drop-down list is displayed. Placements are used to group nodes or VMs sharing a distinctive feature, like a special license. Select the placement corresponding to the VM characteristics. For more information, refer to Managing placements for compute nodes.
-
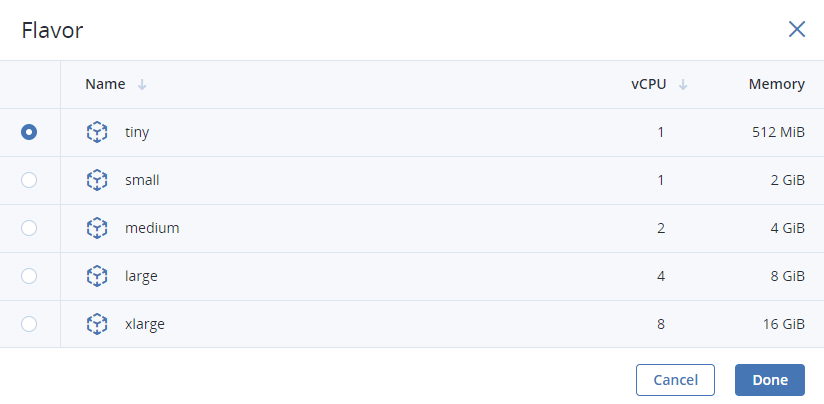
Choose the amount of RAM and CPU resources that will be allocated to the VM in the Flavor section. In the Flavor window, select a flavor, and then click Done.
When choosing a flavor for a VM, ensure it satisfies the hardware requirements of the guest OS.

-
Add network interfaces to the VM in the Networks section:
-
In the Networks interfaces window, click Add, select a compute network, and then click Add.
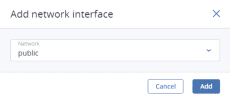
A network interface connected to the selected network will appear in the Network interfaces list.
-
(Optional) Edit additional parameters of newly added network interfaces, such as IP and MAC addresses and spoofing protection. To do this, click the ellipsis icon, click Edit, and then set the parameters. You will not be able to edit these parameters later. Instead, you will be able to delete the old network interface and replace it with a new one.
-
When you finish configuring the VM network interfaces, click Done.
-
-
(Optional) If you have chosen to boot from a template or volume, which has cloud-init and OpenSSH installed:
As cloud images have no default password, you can access VMs deployed from them only by using the key authentication method with SSH.
-
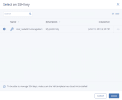
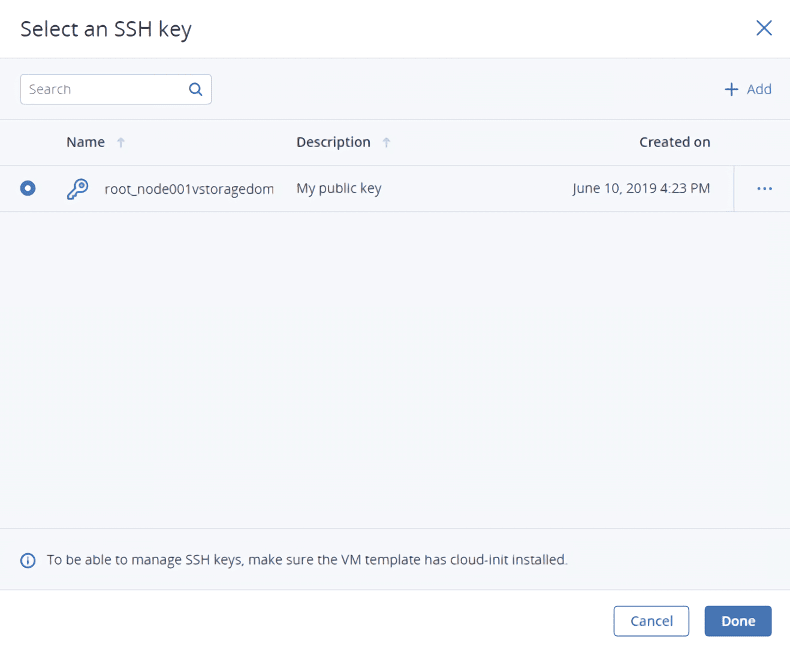
Add an SSH key to the VM, to be able to access it via SSH without a password.
In the Select an SSH key window, select an SSH key and then click Done.
-
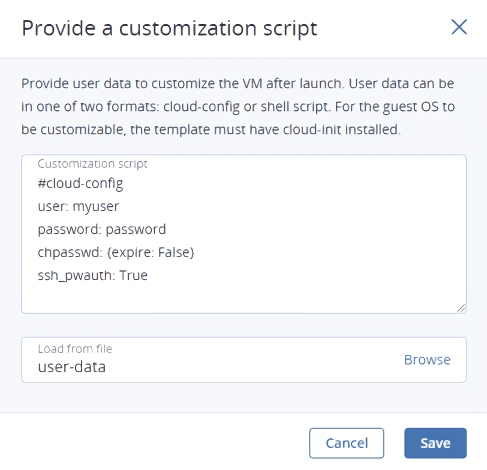
Add user data to customize the VM after launch, for example, change a user password.
Write a cloud-config or shell script in the Customization script field or browse a file on your local server to load the script from.

To inject a script in a Windows VM, refer to the Cloudbase-Init documentation. For example, you can set a new password for the account using the following script:
#ps1
net user <username> <new_password>
-
-
After configuring all of the VM parameters, click Deploy to create and boot the VM.


If you are deploying the VM from an ISO image, you need to install the guest OS inside the VM by using the built-in VNC console. Virtual machines created from a template or a boot volume already have a pre-installed guest OS.