3.4. Configuring Acronis Cyber Appliance
Perform the following steps to configure Acronis Cyber Appliance:
- Turn on the power: (a) press and hold down the main switch for five seconds, (b) press the power buttons of each node.
- Connect an admin laptop (from which you will configure Acronis Cyber Appliance) to the network. Assign a static IP address to it from the same subnet that the nodes are in, for example, 10.20.20.100. As mentioned before, the nodes have preconfigured IP addresses: 10.20.20.11 to 10.20.20.15.
- On this computer, open a web browser and visit the default primary node IP address 10.20.20.11. The configuration wizard has been tested to work in the latest Firefox, Chrome, and Safari web browsers.
In the wizard, you can create a new cluster or connect the appliance to a cluster already created with Acronis Cyber Infrastructure.
3.4.1. Creating a New Cluster
Once the configuration wizard is displayed, click Configure. Do not disconnect the appliance until the end of the configuration.
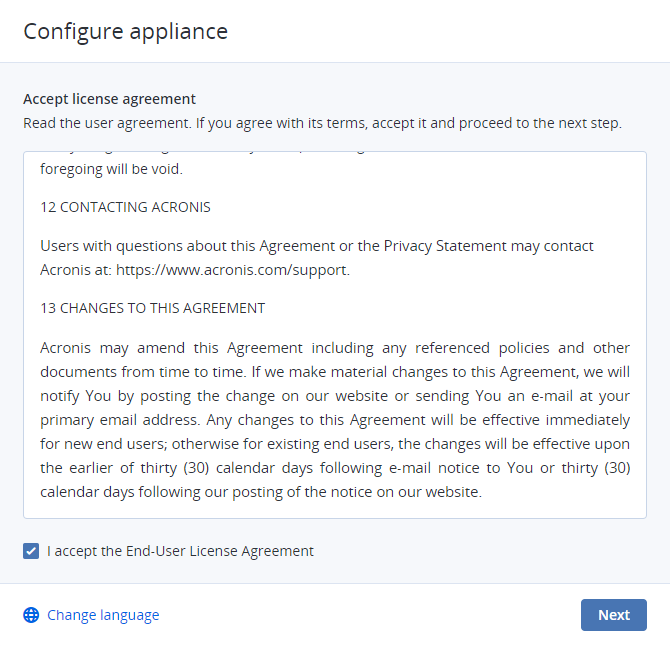
Review and accept the license agreement. Then, click Next.
At the next step, select Create a new cluster.

Under Configure network parameters, enter the following:
- A gateway. Consult your network administrator for the proper gateway address.
- A network mask. Consult your network administrator for the proper network/subnet mask.
- At least one local DNS server.
- A virtual IP address at which you will access the admin panel. You can read more about its high availability in the Enabling Management Node High Availability.
- New host names for all nodes (or leave the default names). Each node must have a unique name. Otherwise, the installation will stop. You can rename the nodes to fit your organization’s naming policies.
- New static IP addresses for the network interfaces connected on all the nodes. If you leave the fields empty, the default addresses of 10.20.20.11 to 10.20.20.15 will be used.
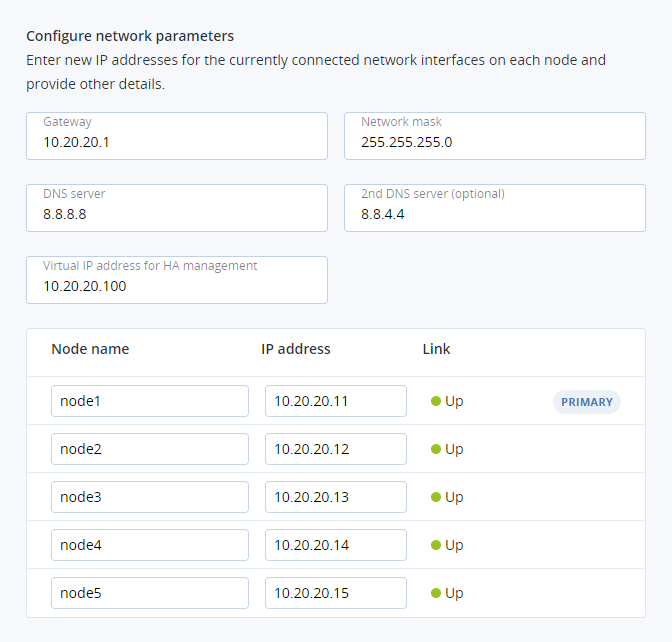
If one or more nodes are not reachable from the primary node, they will be marked as offline. In this case, make sure the nodes are powered on and connected to the correct network. The deployment will be blocked until all nodes are green (which means they can be accessed and configured from the primary node).
Note
You will be able to configure bonds and VLANs later in the admin panel.
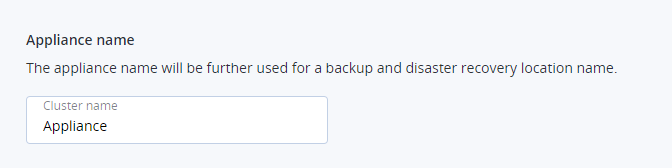
Under Appliance name, enter the cluster name. You cannot change it later.
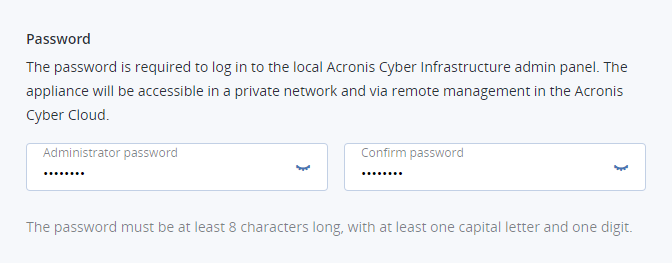
Under Password, enter a password to log in to the local Acronis Cyber Infrastructure admin panel.
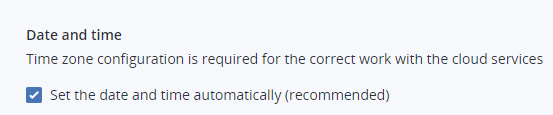
Under Date and time, it is recommended to select the Set the date and time automatically checkbox. You can clear it to select a custom time zone and time. Keep in mind that the nodes communicate with each other. Therefore, they must be on the same time zone and have the same time in order to ensure proper synchronization.
Click Submit. The configuration will begin, as indicated on the progress bar.
Wait until the progress bar reaches the end. If you changed the nodes’ default IP addresses, assign a static IP address from the nodes’ new subnet to the admin laptop from which you can access Acronis Cyber Appliance.
3.4.2. Joining the Existing Cluster
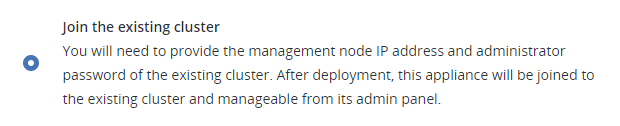
You can connect the appliance to the existing Acronis Cyber Infrastructure cluster. For this, you will need the private IP address of the management node and the administrator credentials for the existing cluster. After the appliance is configured, all five nodes will be added to and managed from the admin panel of the existing cluster.
Once the configuration wizard is displayed, click Configure. Do not disconnect the appliance until the end of the configuration.
Review and accept the license agreement. Then, click Next.
On the next step, select Join the existing cluster.
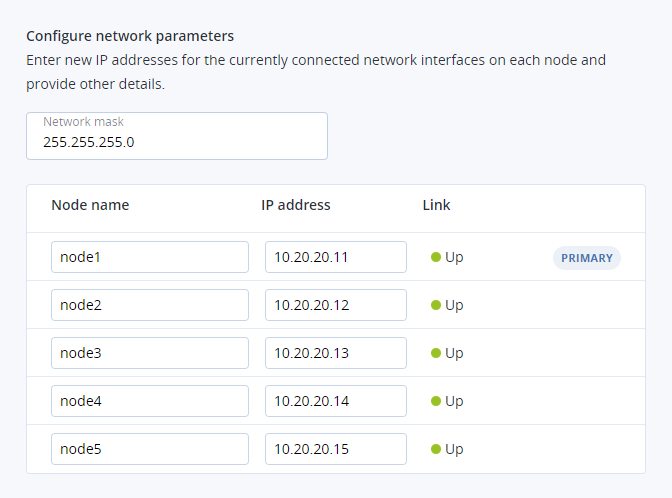
Under Configure network parameters, enter the following:
A network mask. Consult your network administrator for the proper network/subnet mask.
New host names for all nodes (or leave the default names). You can rename the nodes to fit your organization’s naming policies.
Note
Each node in the existing cluster and in the appliance must have a unique name. If at least two nodes have the same name, the installation will stop.
New static IP addresses for the network interfaces connected on all the nodes.
Note
Use IP addresses from the network/subnet of the existing cluster. The installation will be blocked until all of the five nodes are given IPs from the same subnet/network as the existing cluster.
If one or more nodes are not reachable from the primary node, they will be marked as offline. In this case, make sure the nodes are powered on and connected to the correct network. The deployment will be blocked until all nodes are green (which means they can be accessed and configured from the primary node).
Note
You will be able to configure bonds and VLANs later in the admin panel.
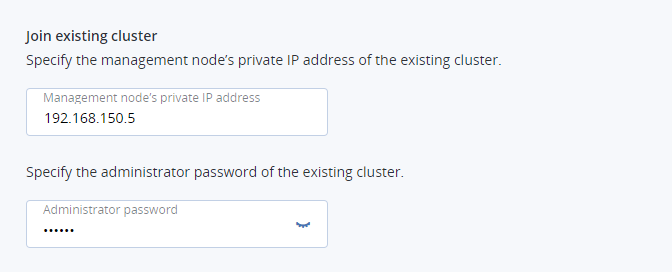
Under Join existing cluster, enter the private IP address of the management node and the administrator password of the existing cluster.
During the deployment, the Acronis Cyber Infrastructure versions are compared in the existing cluster and in the appliance. If there are major discrepancies, you will be asked to specify a network configuration for access to the Internet. Then, the necessary updates will be downloaded, and the appliance will be upgraded or downgraded to match the version of the existing cluster.
3.4.3. Configuring the Cluster by Using the Admin Panel
- Once the configuration is completed, you will see a link to the cluster admin panel. Log in with the username and password for the cluster.
- If you need to make additional changes to the network configuration, e.g., create bonds and VLANs, connect the cables to other network ports and follow the instructions in the Administrator’s Guide.
- In case you created a new cluster, update the product to the latest version after the deployment (see Managing Updates). Proceed to SETTINGS > Licenses and upgrade the default trial license either by a key or an SPLA (for more details, see Configuring Node Network Interfaces). If you do not have a license, contact your sales representative.
- Then, you can configure the cluster for using Acronis Cyber Backup (see Configuring Acronis Cyber Infrastructure and Acronis Cyber Backup), or another desired workload as described in the Administrator’s Guide.