3.4. Configuring Network
Acronis Storage requires at least one network interface per server for management (that is, the management role). You will specify this network interface on the Component Installation screen and will not be able to remove the management role from it later (you will, however, be able to add more network roles to it).
Usually network is configured automatically (via DHCP) by the installation program. If you need to modify network settings, you can do so on the NETWORK & HOST NAME screen.
If manual configuration is required, specify the necessary parameters for at least one network card and provide a hostname: either a fully qualified domain name (hostname, domainname) or a short name (hostname).
3.4.1. Creating Bonded Connections
Bonded connections offer increased throughput beyond the capabilities of a single network card as well as improved redundancy.
While installing Acronis Storage, you can configure bonding on the NETWORK & HOSTNAME screen as described below.
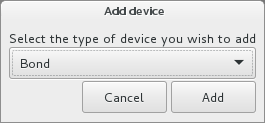
To add a new bonded connection, click the plus button in the bottom, select Bond from the drop-down list, and click Add.
In the Editing Bond connection... window, click Add.

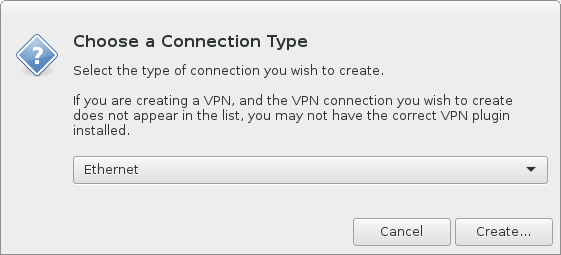
In the Choose a Connection Type window, select Ethernet from the in the drop-down list, and click Create.
In the Editing bond slave... window, select a network interface to bond from the Device drop-down list.
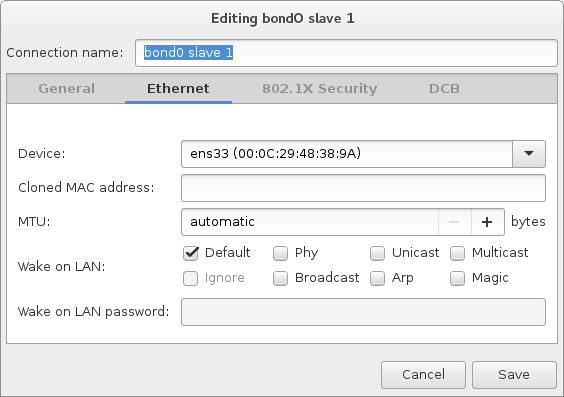
Configure other parameters if required.
Click Save.
Repeat steps 3 to 7 for each network interface you need to add to the bonded connection.
Configure other parameters if required.
Click Save.
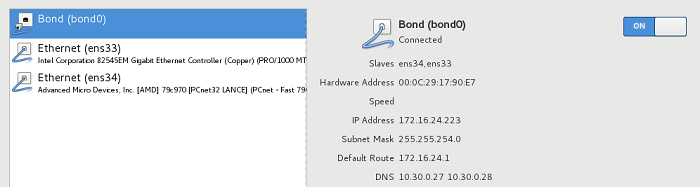
The connection will appear in the list on the NETWORK & HOSTNAME screen.