4.1. Managing Virtual Machines
Each virtual machine (VM) is an independent system with an independent set of virtual hardware. Its main features are the following:
- A virtual machine resembles and works like a regular computer. It has its own virtual hardware. Software applications can run in virtual machines without any modifications or adjustment.
- Virtual machine configuration can be changed easily, e.g., by adding new virtual disks or memory.
- Although virtual machines share physical hardware resources, they are fully isolated from each other (file system, processes, sysctl variables) and the compute node.
- A virtual machine can run any supported guest operating system.
The following table lists the current virtual machine configuration limits:
| Resource | Limit |
|---|---|
| RAM | 1 TiB |
| CPU | 48 logical CPUs |
| Storage | 15 volumes, 512 TiB each |
| Network | 15 NICs |
A logical CPU is a core (thread) in a multicore (multithreading) processor.
4.1.1. Supported Guest Operating Systems
The following guest operating systems have been tested and are supported in virtual machines:
| Operating System | Edition | Architecture |
|---|---|---|
| Windows Server 2019 | Essentials, Standard, Datacenter | x64 |
| Windows Server 2016 | Essentials, Standard, Datacenter | x64 |
| Windows Server 2012 R2 | Essentials, Standard, Datacenter | x64 |
| Windows Server 2012 | Standard, Datacenter | x64 |
| Windows Server 2008 R2 | Standard, Datacenter | x64 |
| Windows Server 2008 | Standard, Datacenter | x64 |
| Windows 10 | Home, Professional, Enterprise, Enterprise 2016 LTSB | x64 |
| Windows 8.1 | Home, Professional, Enterprise | x64 |
| Windows 7 | Home, Professional, Enterprise | x64 |
| Operating System | Architecture |
|---|---|
| CentOS 7.x | x64 |
| CentOS 6.x | x64 |
| RHEL 8.x | x64 |
| RHEL 7.x | x64 |
| Debian 9.x | x64 |
| Ubuntu 18.04.x | x64 |
| Ubuntu 16.04.x | x64 |
4.1.2. Creating Virtual Machines
Before you proceed to creating VMs, check that you have these:
A guest OS source (see Managing Images):
a distribution ISO image of a guest OS to install in the VM, or
a boot volume template, or
a boot volume
Note
To obtain a boot volume, create a volume as described in Managing Volumes, attach it to a VM, install an operating system in it, then delete the VM.
One or more virtual networks (see Managing Private Virtual Networks)
An SSH key (see Managing SSH Keys)
Note
You can specify an SSH key only when creating VMs from a template or boot volume.
Note
Virtual machines are created with the host CPU model by default. Having compute nodes with different CPUs may lead to live migration issues. To avoid them, you can manually set CPU model for all new VMs as described in the Administrator’s Command Line Guide.
To create a VM, do the following:
On the Virtual machines screen, click Create virtual machine. A window will open where you will need to specify VM parameters.
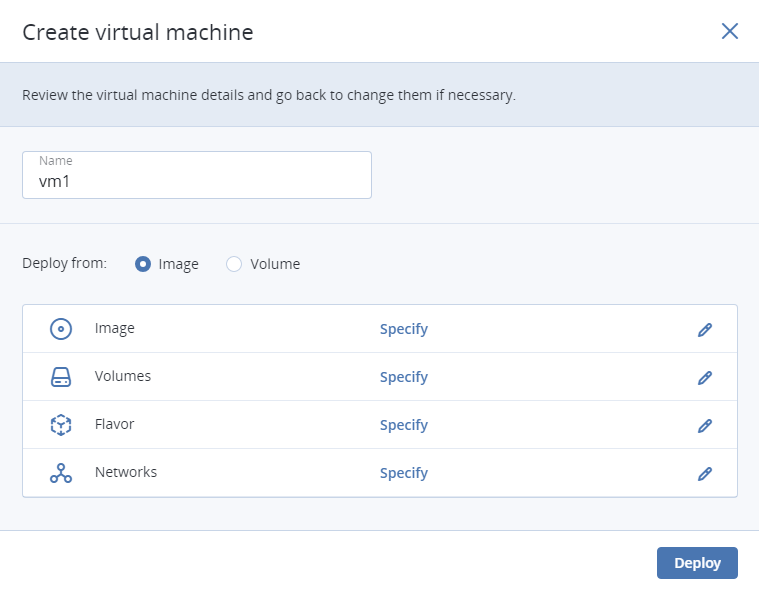
Specify a name for the new VM.
In Deploy from, choose Volume if you have a boot volume or want to create one. Otherwise, choose Image.
Depending on your choice, click the pencil icon in the Volumes or Image section and do one of the following:
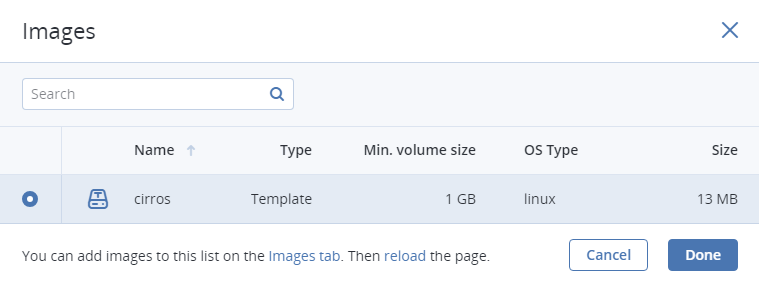
- In the Images window, select the ISO image or template and click Done.
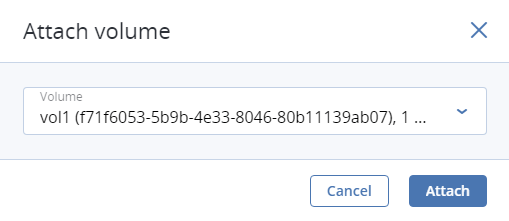
- In the Volumes window, do one of the following:
- If you have prepared a volume with an installed guest OS, click Attach, find and select the volume, and click Done.
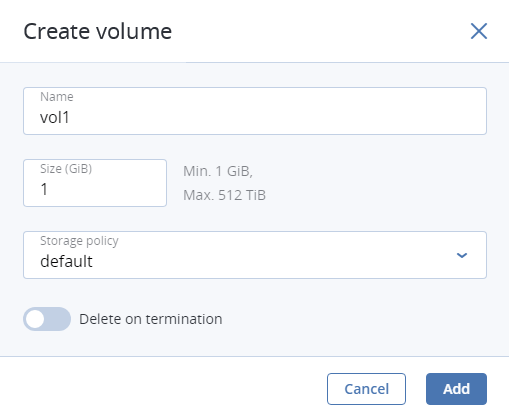
Optionally, in the Volumes window, click Add or Attach to create or attach any other volumes you need. To select a volume as bootable, place it first in the list by clicking the up arrow button next to it.
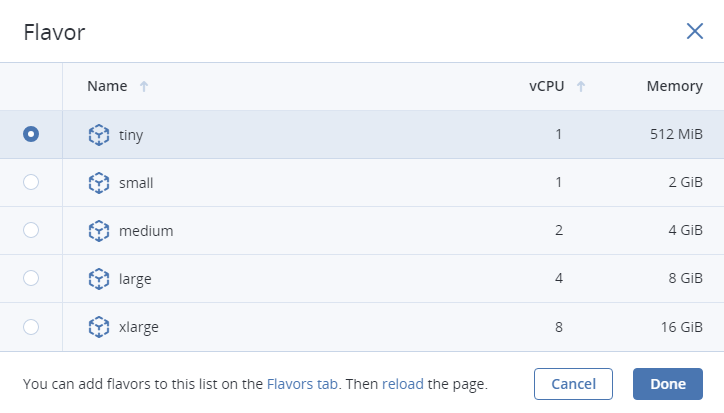
In the Flavor window, choose a flavor and click Done.
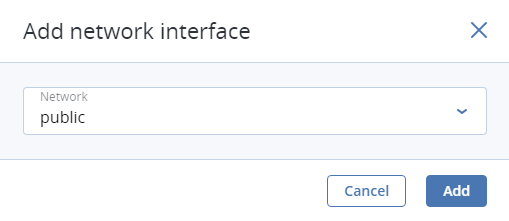
In the network window, click Add, select a virtual network interface and click Add. It will appear in the Network interfaces list.
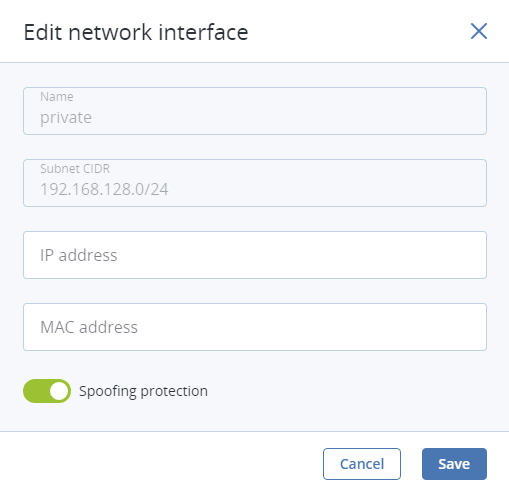
You can edit additional parameters of newly added network interfaces, like IP and MAC addresses and spoofing protection. To do this, click interface’s ellipsis icon, then Edit, and set parameters in the Edit network interface window.
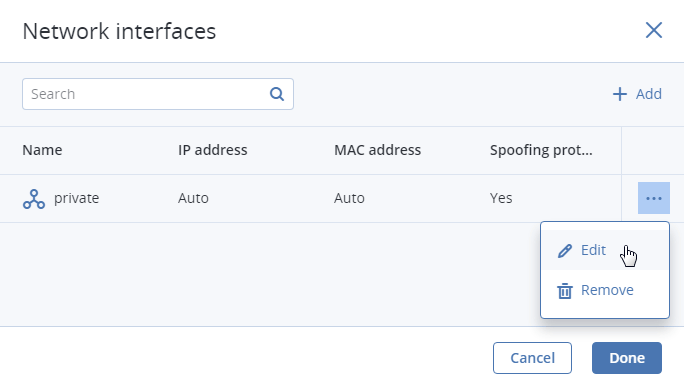
You will not be able to edit these parameters later. Instead, you will be able to delete the old network interface and replace it with a new one.
Click Done.
(Optional) If you are deploying the VM from a template or boot volume (not an ISO image), you can specify the following:
An SSH key to be injected into the VM. To do it, select an SSH key in the Select an SSH key window, and click Done.
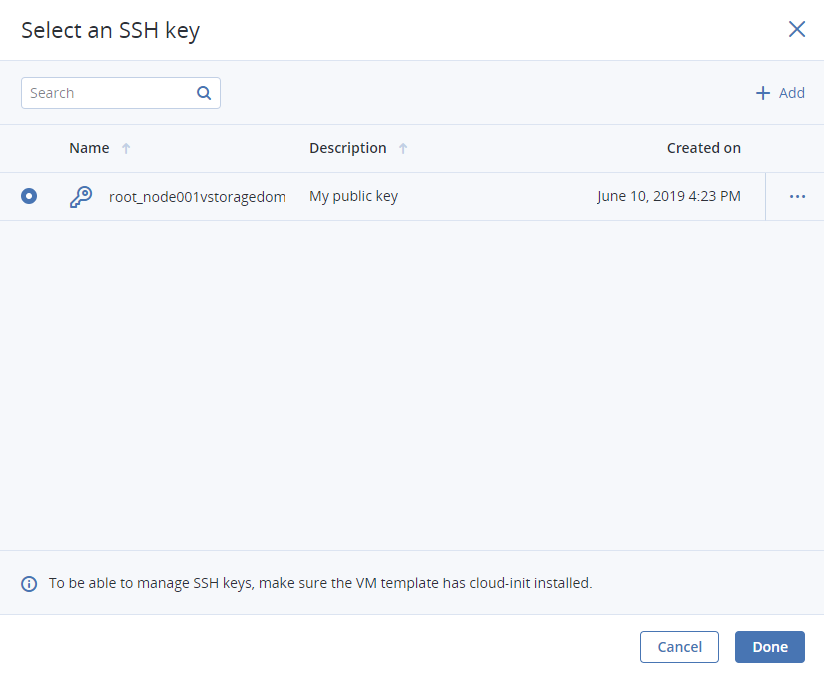
Note
To be able to connect to the VM via SSH, make sure the VM template or boot volume has cloud-init and OpenSSH installed (see the “Creating SSH-Enabled Templates” section in the Administrator’s Command Line Guide).
User data to customize the VM after launch. To do it, write a script in the Customization script field or browse a file on your local server to load the script from.
You can specify user data in one of two formats: cloud-config or shell script. To inject a script in a Windows VM, refer to the Cloudbase-Init documentation.
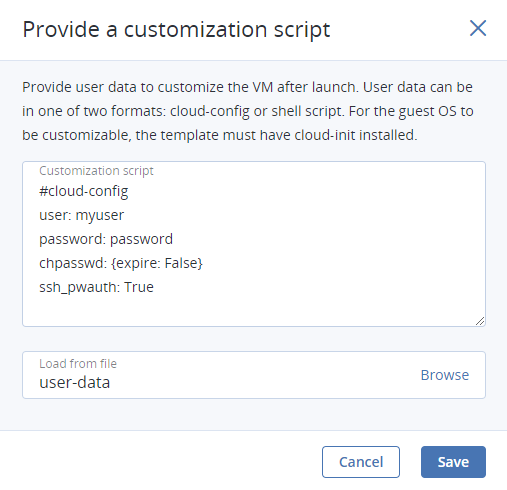
Note
For the guest OS to be customizable, make sure the VM template or boot volume has cloud-init installed.
Back in the Create virtual machine window, click Deploy to create and boot the VM.
If you are deploying the VM from an ISO image (not a boot volume template or a volume with a pre-installed guest OS), select the VM, click Console, and install the guest OS using the built-in VNC console.
(Optional) If you are deploying the VM from a prepared template with an injected SSH key, you can connect to it via SSH using the username and the VM IP address:
- For Linux templates, enter the username that is default for the cloud image OS (for example, for a CentOS cloud image, the default login is
centos). - For Windows templates, enter the username that you specified during Cloudbase-Init installation.
- For VMs customized with user data, enter the username specified in the script.
For example:
# ssh myuser@10.10.10.10
- For Linux templates, enter the username that is default for the cloud image OS (for example, for a CentOS cloud image, the default login is
4.1.3. Virtual Machine Actions Overview
After you create a virtual machine, you can manage it using the actions available for its current state. To see the full list of available actions, click the ellipsis button next to a VM or on top of its panel. Actions include:
Run powers up a VM.
Console connects to running VMs via the built-in VNC console. In the console browser window, you can send a key combination to a VM, take a screenshot of the console window, and download the console log.
Reboot soft-reboots a running VM.
Shut down gracefully shuts down a running VM.
Hard reboot cuts off and restores power, then starts a VM.
Power off forcibly cuts off power from a VM.
Shelve unbinds a stopped VM from the node it is hosted on and releases its reserved resources such as CPU and RAM. A shelved VM remains bootable and retains its configuration, including the IP addresses.
Virtual machines in other states can be shelved by clicking Shut down or Power off and selecting the checkbox Shelve virtual machine in the confirmation window.
Unshelve spawns a shelved VM on a node with enough resources to host it.
Suspend saves the current VM state to a file.
This may prove useful, for example, if you need to restart the host but do not want to quit the applications currently running in the VM or restart its guest OS.
Resume restores a VM from suspended state.
Download console log downloads the console log. Make sure logging is enabled inside the VM, otherwise the log will be empty (for more information, see Enabling Logging inside Virtual Machines).
Examining console logs may be useful in troubleshooting failed virtual machines.
Reset state resets the VM stuck in a failed or transitional state to its last stable state: active, shut down or shelved.
Delete removes a VM from the compute cluster.
4.1.4. Enabling Logging inside Virtual Machines
VM’s console log will contain log messages only if the TTY1 and TTYS0 logging levels are enabled inside the VM. For example, you can enable them as follows in Linux VMs:
Add the line
GRUB_CMDLINE_LINUX_DEFAULT="console=tty1 console=ttyS0"to the file/etc/default/grub.Depending on the boot loader, run either
# grub-mkconfig -o /boot/grub/grub.cfg
or
# grub2-mkconfig -o /boot/grub2/grub.cfg
Reboot the VM.
In Windows VMs, you can enable Emergency Management Services (EMS) console redirection for this purpose. Do the following:
Start Windows PowerShell with administrator privileges.
In the PowerShell console, set the COM port and baud rate for EMS console redirection. As Windows VMs have only the COM1 port with the transmission rate of 9600 bps, run:
bcdedit /emssettings EMSPORT:1
Enable EMS for the current boot entry:
bcdedit /ems on
You may also enable driver status logging to see the list of loaded drivers. This can be useful for troubleshooting a faulty driver or long boot process. You can do this as follows:
- Start System Configuration with administrator privileges.
- In the System Configuration windows, open the Boot tab, select the checkboxes OS boot information and Make all boot settings permanent.
- Confirm the changes and restart the system.
4.1.5. Reconfiguring and Monitoring Virtual Machines
To monitor virtual machine’s CPU, storage, and network usage, select the VM and open the Monitoring tab.
To reconfigure a VM, select it and, on the Overview tab, click the pencil icon next to a parameter you need to change. You cannot do the following:
- Change, detach, or delete the boot volume
- Manage non-boot volumes except attaching and detaching
- Modify previously added network interfaces
- Attach and detach network interfaces to and from shelved VMs