1.1. Acronis Cyber Appliance Exterior
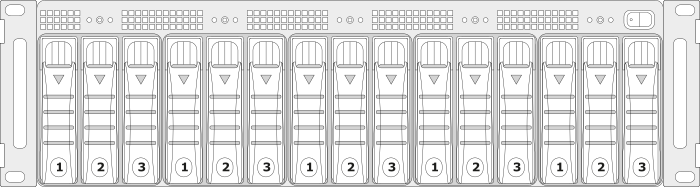
Acronis Cyber Appliance consists of five identical nodes. On the front of the appliance, under the front bezel are the power/reset buttons, a power LED of each node, as well as the main power switch. The front panel also provides access to the disks for each node: three per node, ordered left to right, that is, the leftmost three disks are for node #1, the next three are for node #2, etc.
On the back of Acronis Cyber Appliance are two power sockets and a number of connectivity options.
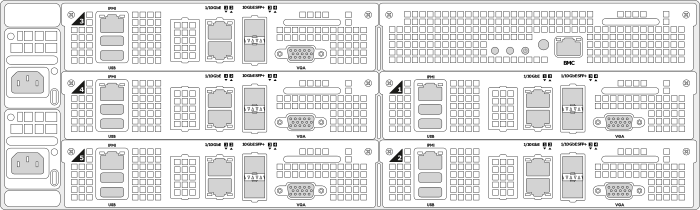
Each node has its own network, IPMI, USB, and VGA ports.
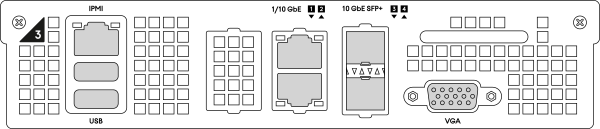
The IPMI, USB, and VGA ports are only needed for advanced diagnostics. IPMI allows accessing the nodes over the network for out-of-band management via a remote console. The default IPMI password to access the management node via SSH is Acronis!Infra%30 (it changes to a user-specified password during deployment). The USB and VGA ports allow you to connect a keyboard and a monitor to a node if the network is unavailable.
Day-to-day management of Acronis Cyber Appliance is done over the network through the admin panel, as described later in the guide.