3.2. Accessing iSCSI Targets from Microsoft Windows Server 2012 R2
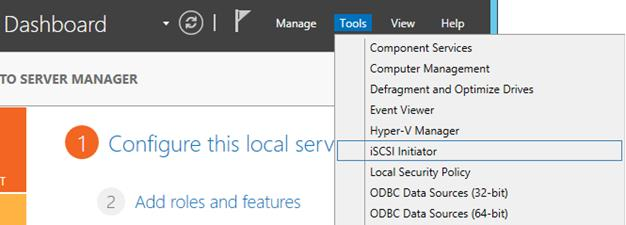
In the Server Manager Dashboard, click the Tools menu in the toolbar and select iSCSI Initiator.
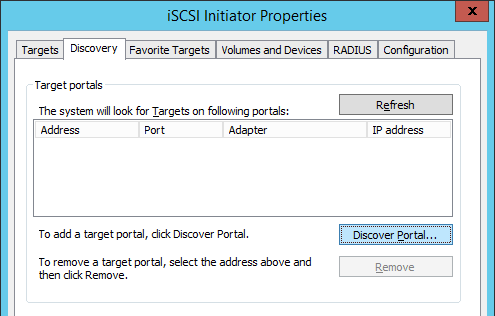
In the iSCSI Initiator Properties, switch to the Discovery tab and click Discover Portal....
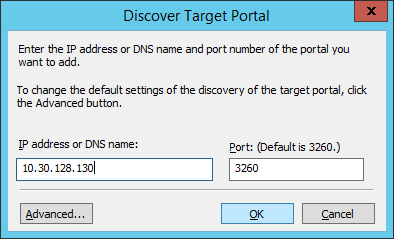
In the Discover Target Portal window, enter the portal IP address and click OK.
The newly added portal will appear in the Target portals section.
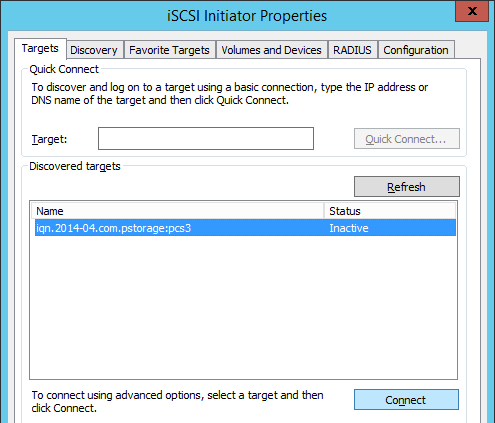
On the iSCSI Initiator Properties > Targets tab, select the new target in the Discovered targets section and click Connect.
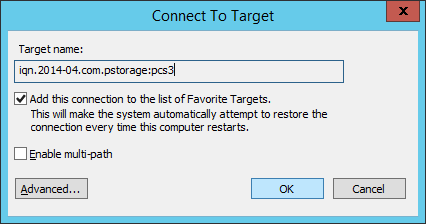
In the Connect to Target window, click OK.
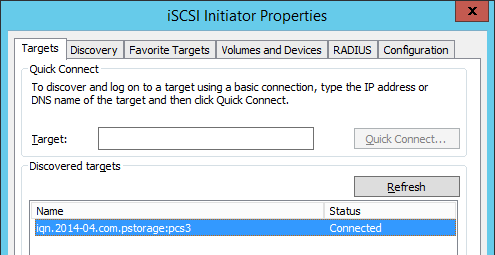
Target’s Inactive status will change to Connected.
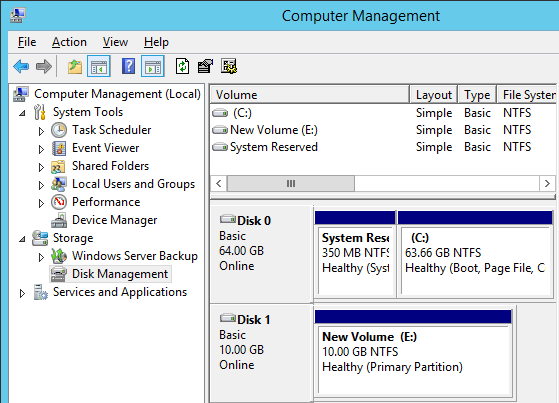
The newly attached disk will appear in Server Manager Dashboard > Computer Management > Storage > Disk Management.
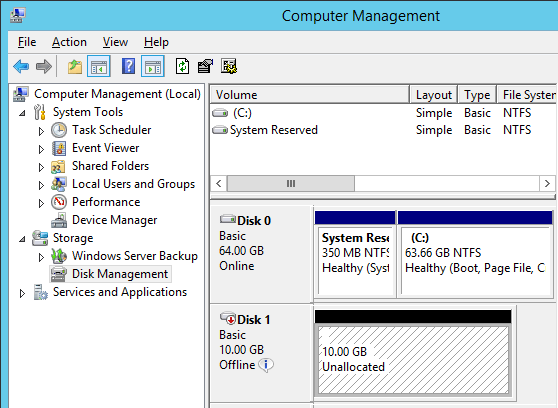
Right-click the disk information section and select Online.
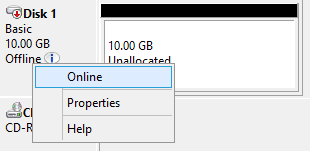
The disk status will change to Online.
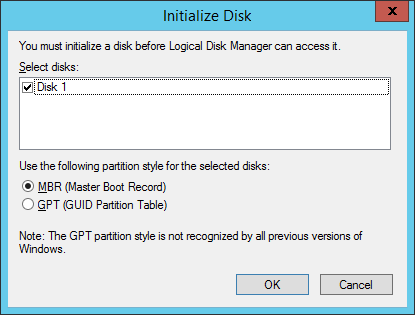
Right-click the disk information section and select Initialize Disk.
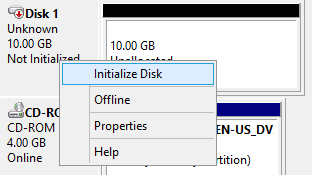
In the Initialize Disk window, click OK.
Right-click the disk space section, select New Simple Volume..., and follow the wizard’s instruction to format the new disk to NTFS.
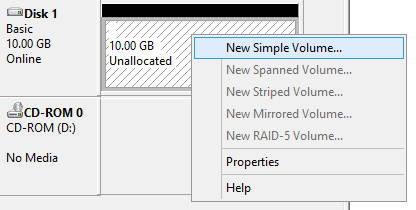
The disk state will change to Healthy.
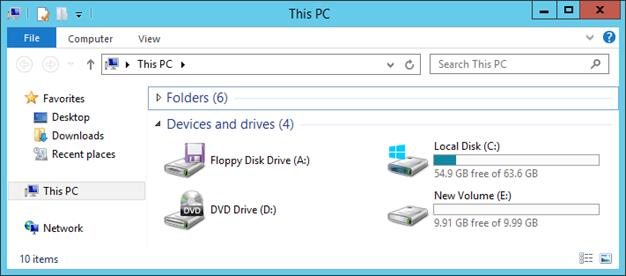
The new disk will appear in Windows Explorer.