4.5. Managing virtual networks
To add a new virtual network, do the following:
On the Networks screen, click Create virtual network.
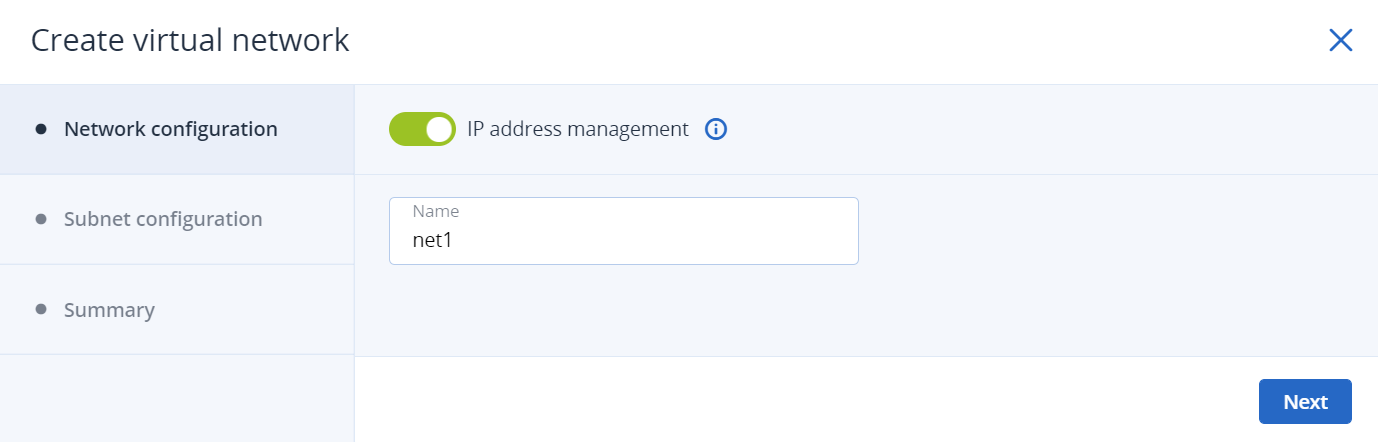
On the Network configuration step, do the following:
Enable or disable IP address management:
- With IP address management enabled, VMs connected to the network will automatically be assigned IP addresses from allocation pools by the built-in DHCP server and use custom DNS servers. Additionally, spoofing protection will be enabled for all VM network ports by default. Each VM network interface will be able to accept and send IP packets only if it has IP and MAC addresses assigned. You can disable spoofing protection manually for a VM interface, if required.
- With IP address management disabled, VMs connected to the network will obtain IP addresses from the DHCP servers in that network, if any. Also, spoofing protection will be disabled for all VM network ports, and you cannot enable it manually. This means that each VM network interface, with or without assigned IP and MAC addresses, will be able to accept and send IP packets.
In any case, you will be able to manually assign static IP addresses from inside the VMs.
Specify a name, and then click Next.
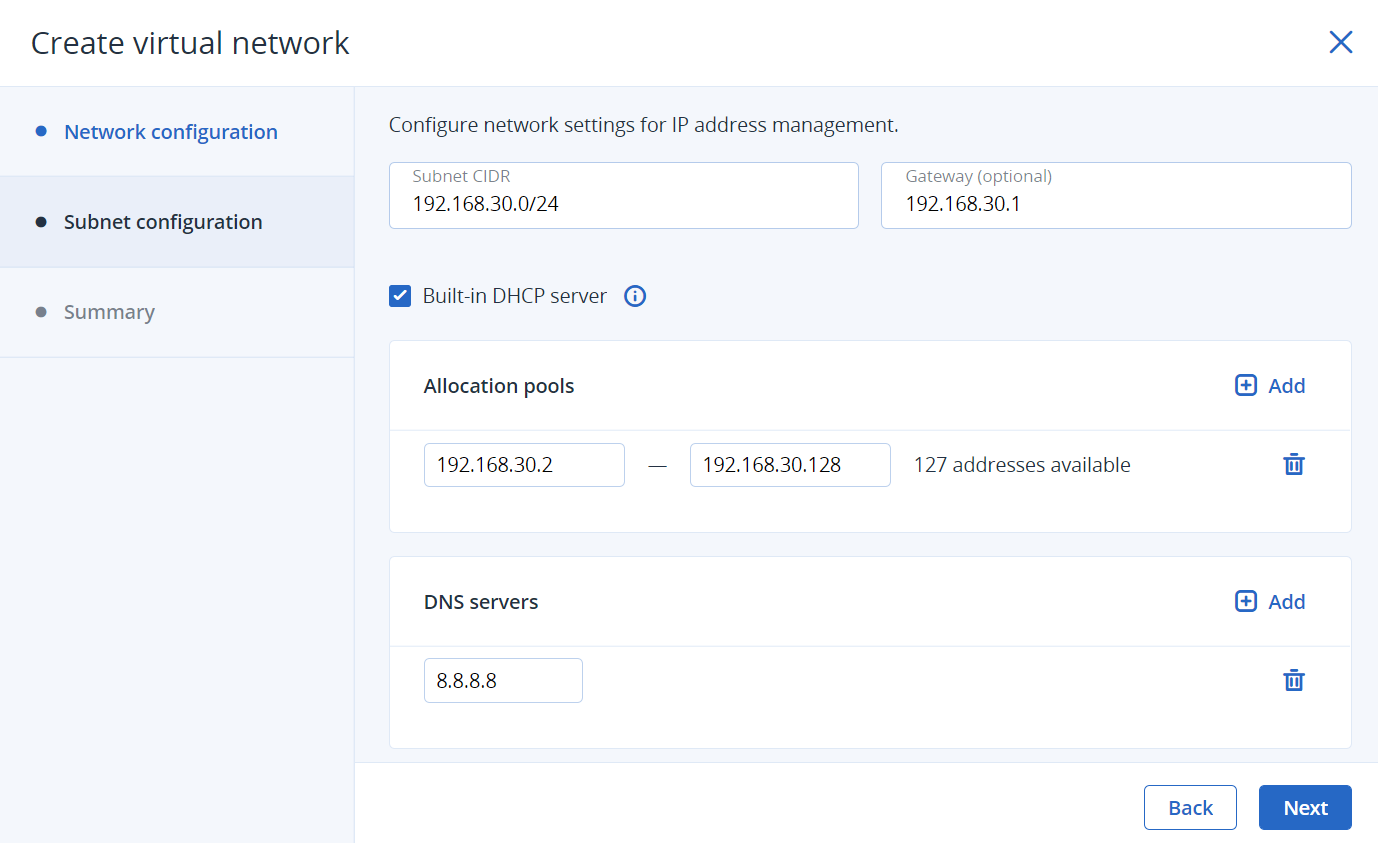
If you enabled IP address management, you will move on to the Subnet configuration step, where you can configure the network settings for IP address management:
- Specify the network’s IPv4 address range and, optionally, specify a gateway. If you leave the Gateway field blank, the gateway will be omitted from network settings.
Enable or disable the built-in DHCP server:
- With the DHCP server enabled, VM network interfaces will automatically be assigned IP addresses: either from allocation pools or, if there are no pools, from the network’s entire IP range.
- With the DHCP server disabled, VM network interfaces will still get IP addresses, but you will have to manually assign them inside VMs.
The virtual DHCP service will work only within the current network and will not be exposed to other networks.
Specify one or more allocation pools (ranges of IP addresses that will be automatically assigned to VMs).
Specify DNS servers that will be used by virtual machines. These servers can be delivered to VMs via the built-in DHCP server or by using the cloud-init network configuration (if cloud-init is installed in the VM).
Click Next.
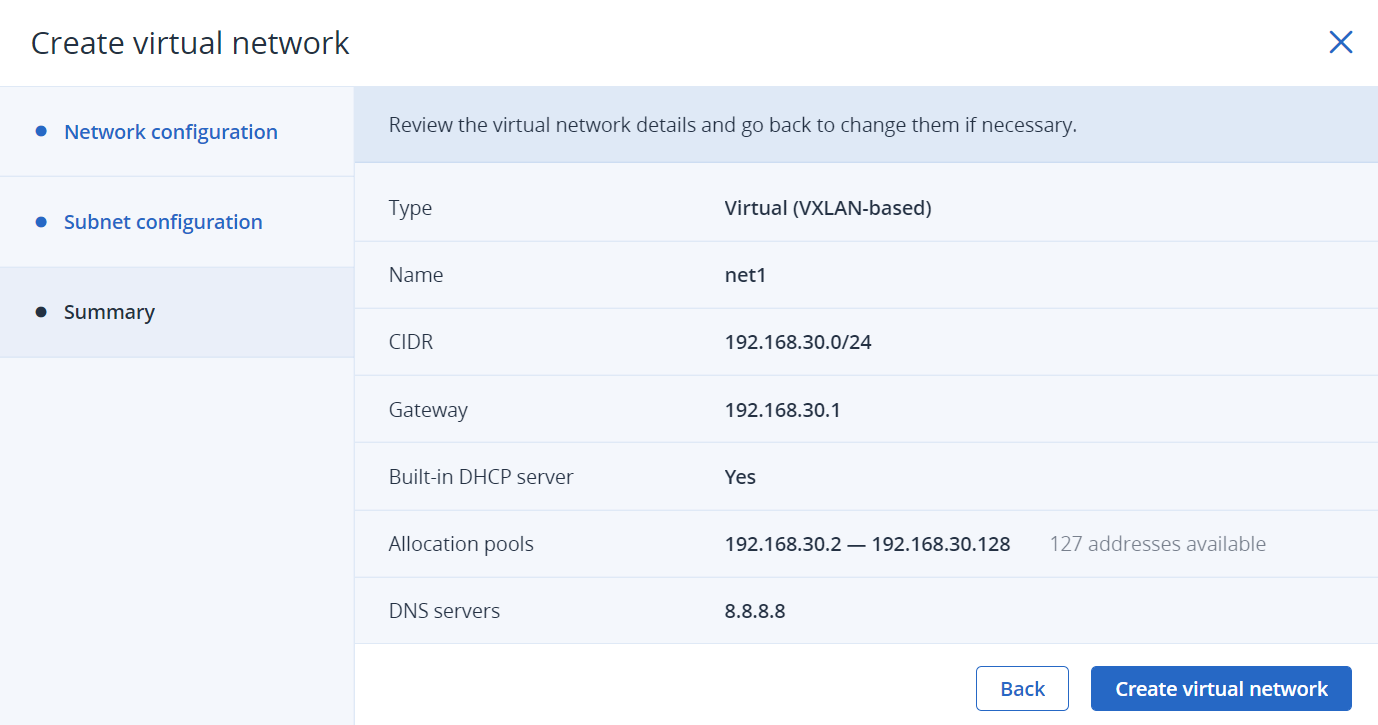
On the Summary step, review the configuration, and then click Create virtual network.
To view and edit parameters of a virtual network, click it on the Networks screen. On the network right pane, you can edit the network name and IP management settings. To do this, click the pencil icon next to the required section, and then make changes.
To delete a compute network, click the ellipsis icon next to it, and then click Delete. To remove multiple compute networks at once, select them, and then click Delete. Before deleting a compute network, make sure no VMs are connected to it.