Customizing the self-service panel
Customization is required when you want the self-service panel have a custom appearance for end users. You can apply custom product title, logos, favicon, and the panel color scheme.
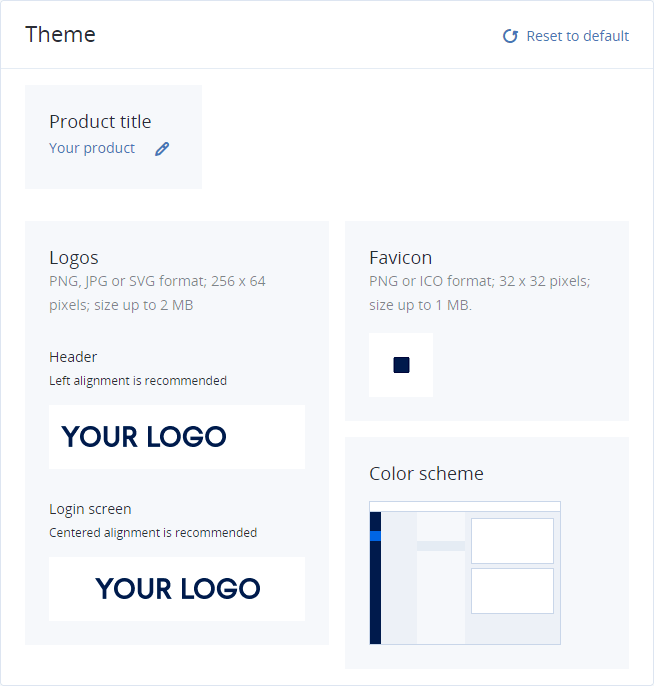
To customize the self-service panel
- In the Product title section, click the pencil icon to change the product title displayed on the self-service web-browser tab. In a window that opens, specify a product title, and then click Save.
- In the Logos section, upload two versions of the same logo: left-aligned and centered:
- Under Header, click Upload or the image displayed, and then browse to the left-aligned logo version. This image will be used as the panel header.
- Under Login screen, click Upload or the image displayed, and browse to the centered logo. It will be used at the login screen.
- In the Favicon section, click the upload icon to upload a favicon for the self-service panel and select an image file in the .png or .ico format. The image must be 32 x 32 pixels in dimensions and up to 1 MB in size.
- In the Color scheme section, click Change scheme to select a color scheme for the self-service panel. In a window that opens, select the desired color scheme, and then click Apply.
The images must be 256 x 64 pixels in dimensions and up to 2 MB in size. The following image formats are supported: .png, .jpg, or .svg. In case of .png, a transparent background is recommended.
To remove the chosen product title, logos, and favicon from the self-service and reset the theme to default, click Reset to default.