Configuring multitenancy
To configure multitenancy for the compute cluster, you need to create domains and projects, assign users to them, and define project quotas.
Limitations
- You can set project quotas only after deploying the compute cluster.
Prerequisites
- A clear understanding of the concept Multitenancy.
- As quotas can exceed the existing virtual resources and virtual resources are not reserved for each project, the compute cluster must have enough virtual resources for all projects in all domains.
To create a domain
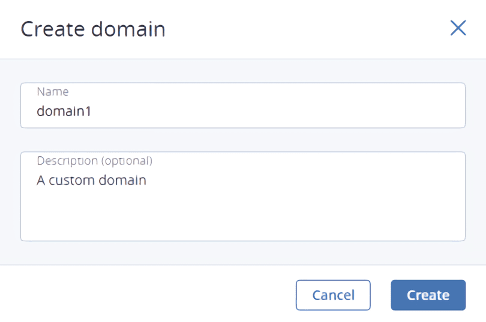
- On the Settings > Projects and users screen, click Create domain.
-
In the Create domain window, specify the domain name and, optionally, description.

- Click Create.
To create a project
- On the Settings > Projects and users screen, click a domain within which the project will be created.
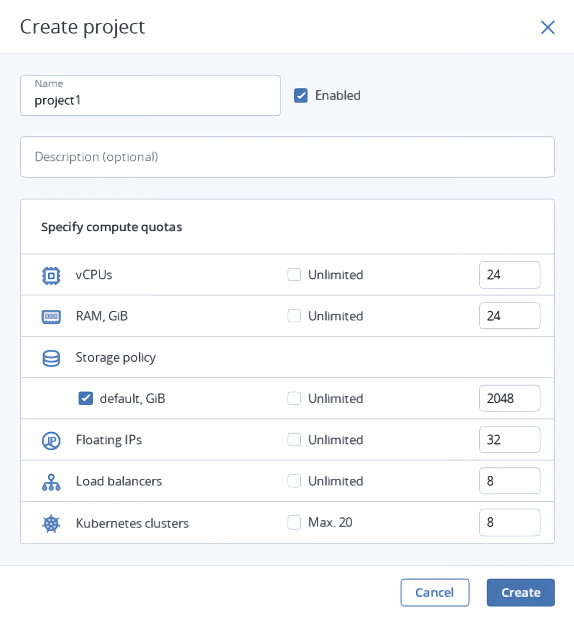
- On the Projects tab, click Create project.
- In the Create project window, specify the project name and, optionally, description. The project name must be unique within a domain.
- [Optional] Clear the Enabled check box to disable the created project.
- Define quotas for virtual resources that will be available inside the project. To specify a certain value for a resource, clear the Unlimited check box next to it first.
-
Click Create.
The default storage policy must be shared with projects that will use the Kubernetes-as-a-service feature.
To create a self-service user
- On the Settings > Projects and users screen, click a domain within which the user will be created.
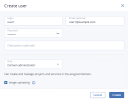
- Go to the Domain users tab, and then click Create user.
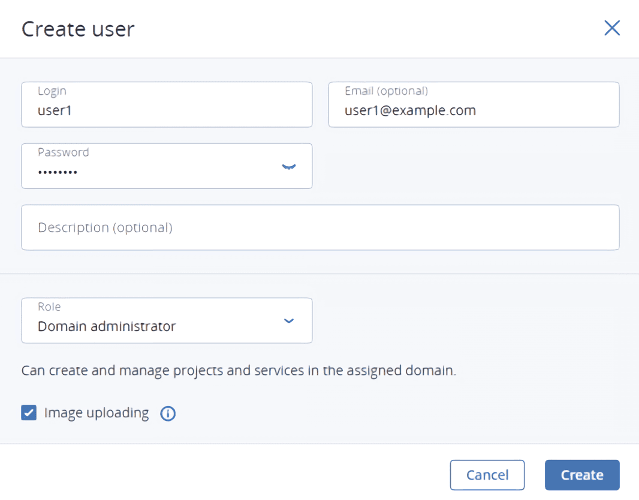
- In the Create user window, specify the user name, password, and, if required, a user email address and description. The user name must be unique within a domain.
- Select the user role:
 To create a domain administrator
- Select Domain administrator.
[Optional] Select the Image uploading check box. The state of this permission will be inherited by users created by this domain administrator.
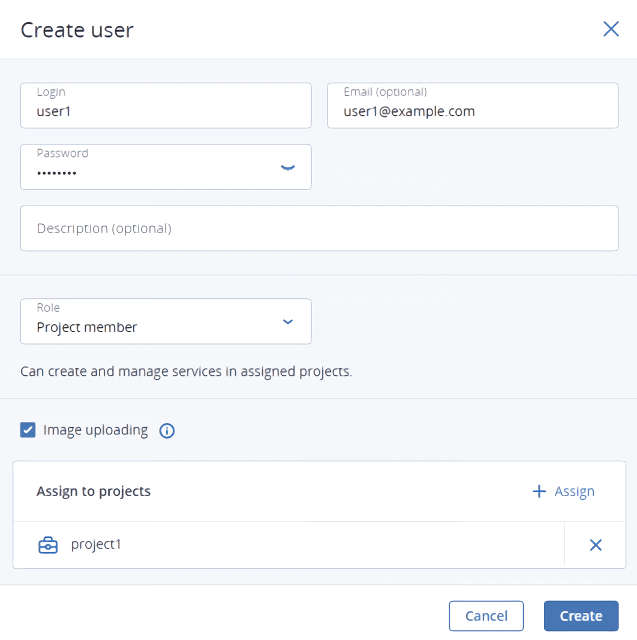
- To create a project administrator
- Select Project member.
- [Optional] Select the Image uploading check box. If this option is disabled, this user will not be able to upload images.
[Optional] Click Assign and select a project this user will be assigned to.

- Click Create.