2.1. Managing Buckets via the Acronis Software-Defined Infrastructure User Panel
This section describes how to manage buckets and their contents from the Acronis Software-Defined Infrastructure user panel.
2.1.1. Logging in to User Panel
To log in to the Acronis Software-Defined Infrastructure user panel, do the following:
On any computer with access to the web interface, in a web browser visit
http://<user_panel_IP_address>:8888/s3/.
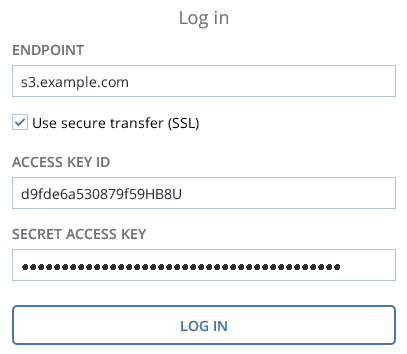
On the login screen, enter your credentials in the corresponding fields and click LOG IN.
Once you log in to the web interface, you will see the Buckets screen with the list of your buckets. From here, you can manage buckets as well as folders and files stored inside the buckets.
To log out, click the user icon in the upper right corner of any screen and click Log out.
2.1.2. Adding, Deleting, and Listing S3 Buckets
On the Buckets screen:
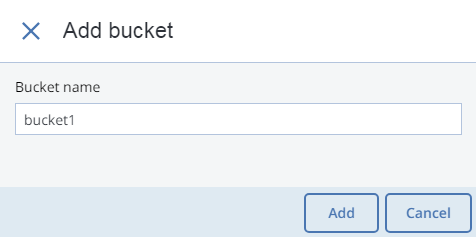
To add a new bucket, click Add bucket, specify a name, and click Add.

Use bucket names that comply with DNS naming conventions. For more information on bucket naming, see S3 Bucket and Key Naming Policies.
To delete a bucket, select it and click Delete.
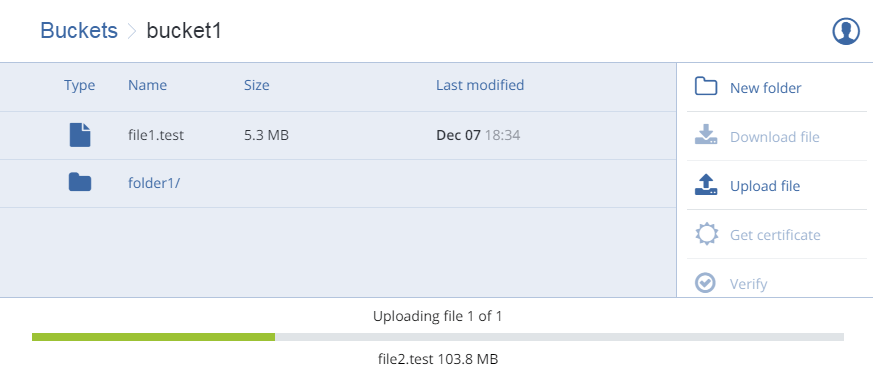
To list bucket contents, click a bucket name in the list.
2.1.2.1. Listing S3 Bucket Contents in a Browser
You can list bucket contents with a web browser. To do this, visit the URL that consists of the external DNS name for the S3 endpoint that you specified when creating the S3 cluster and the bucket name. For example, mys3storage.example.com/mybucket.
Note
You can also copy the link to bucket contents by right-clicking it in CyberDuck, and then selecting Copy URL.
2.1.3. Creating, Deleting, and Listing Folders
On the bucket contents screen:
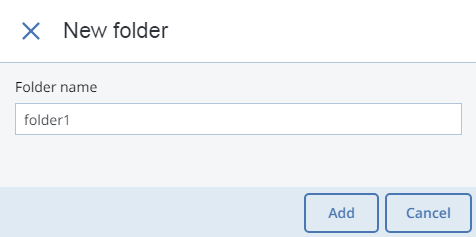
To create a folder, click New folder, specify folder name in the New folder window, and click Add.

To delete a folder, select it and click Delete.
To list folder contents, click a folder name.
2.1.4. Uploading and Downloading Files
On the bucket or folder contents screen:
To upload files to S3, click Upload and choose files to upload.

To download files, select them and click Download.
2.1.5. Obtaining and Validating File Certificates
Acronis Software-Defined Infrastructure offers integration with the Acronis Notary service to leverage blockchain notarization and ensure the immutability of data saved in S3 buckets.
To certify files stored in your buckets, ask your system administrator to enable the Acronis Notary service for the buckets.
After that, you will be able to do the following:
- To get a notarization certificate for a file, select it and click Get Certificate.
- To check the validity of a file’s certificate, click Verify.
