4.2. Connecting to External NFS Shares via Acronis Backup Gateway
Note
- Acronis Storage does not provide data redundancy on top of NFS volumes. Depending on the implementation, NFS shares may use their own hardware or software redundancy.
- In the current version of Acronis Storage, only one cluster node may store backups on an NFS volume.
Before you proceed, make sure that:
- The NFS share has enough space for backups;
- Each NFS export is used by only one gateway. In particular, do not configure two Acronis Storage installations to use the same NFS export for backup storage.
To set up Acronis Backup Gateway, do the following:
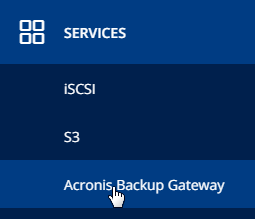
In the left menu, click SERVICES > Acronis Backup Gateway.
Select node(s) to run the gateway services on and click Create gateway in the right menu.
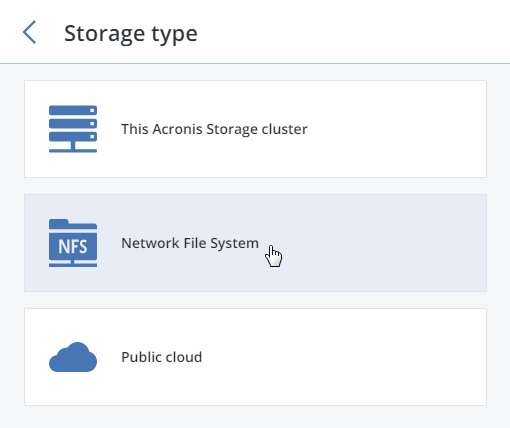
Select Network File System as storage type.
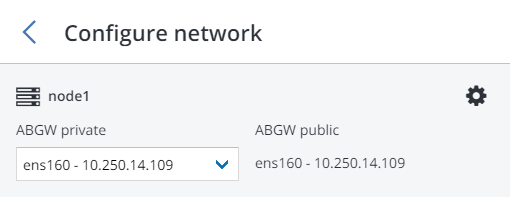
Make sure a network interface with the ABGW private role is selected in the drop-down list. The corresponding interfaces with the ABGW public role will be selected automatically. Click NEXT.
Note
If necessary, click the cogwheel icon and assign the required role(s) to network interfaces on the Network Configuration screen.
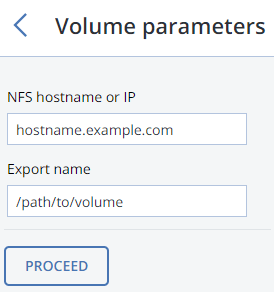
On the Volume Parameters tab, specify the hostname or IP address of the NFS share as well as the export name. Click NEXT.
On the DNS Configuration tab, specify the external DNS name for this gateway, e.g,
backupgateway.example.com. Make sure that each node running the gateway service has a port open for outgoing Internet connections and incoming connections from your Acronis backup software. Backup agents will use this address and port to upload the backup data.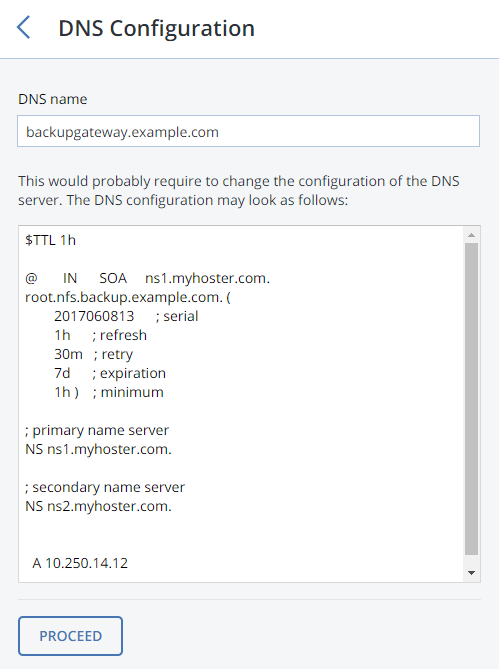
Important
- Configure your DNS server according to the example suggested in the management panel.
- Each time you changes nodes in the Acronis Backup Gateway cluster, adjust the DNS settings accordingly.
Click NEXT.
On the Registration pane, specify the following information for your Acronis product:
- In Account Server Name, specify the address of the Acronis Backup Cloud management portal (e.g., https://cloud.acronis.com/) or the hostname/IP address and port of the Acronis Backup Advanced management server (e.g., http://192.168.1.2:9877).
- In Acronis Account, specify the credentials of a partner account in the cloud or of an organization administrator on the local management server.
Finally, click DONE.