5. Deploying Compute Cluster
Before creating a compute cluster, make sure the following requirements are met:
- Network is set up according to recommendations in the “Managing Networks and Traffic Types” section of the Administrator’s Guide. The basic requirements are: (a) the traffic types VM private, VM public, and Compute API must be assigned to networks; (b) the nodes to be added to the compute cluster must be connected to these networks.
- All nodes to be added to the compute cluster are connected to the same network with the VM public traffic type.
- High availability for the management node is enabled (see the Enabling Management Node High Availability).
Also take note of the following:
- Creating the compute cluster prevents (and replaces) the use of the management node backup and restore feature.
- If nodes to be added to the compute cluster have different CPU models, consult the section “Setting Virtual Machines CPU Model” in the Administrator’s Command Line Guide.
To create the compute cluster, open the COMPUTE screen, click Create compute cluster and do the following in the Configure compute cluster window:
In the Nodes section, select nodes to add to the compute cluster, make sure the network state of each selected node is Configured, and click Next.
Nodes in the management node high availability cluster are automatically selected to join the compute cluster.
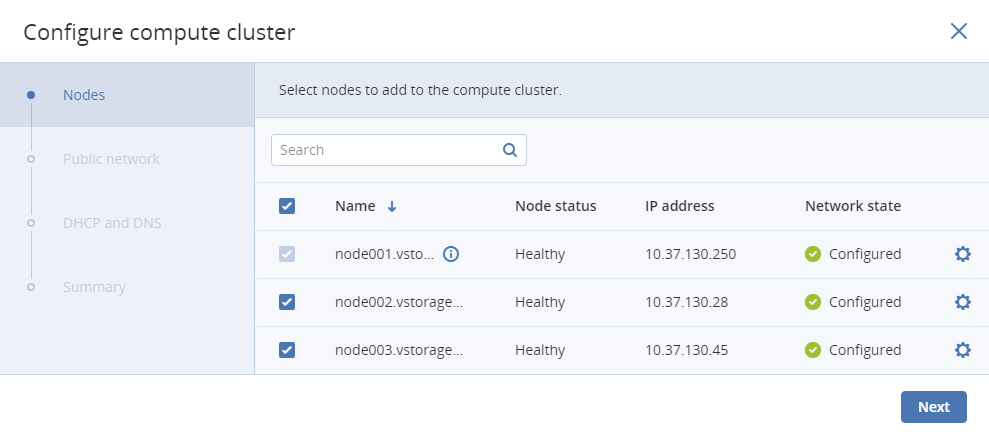
If node network interfaces are not configured, click the cogwheel icon, select networks as required, and click Apply.
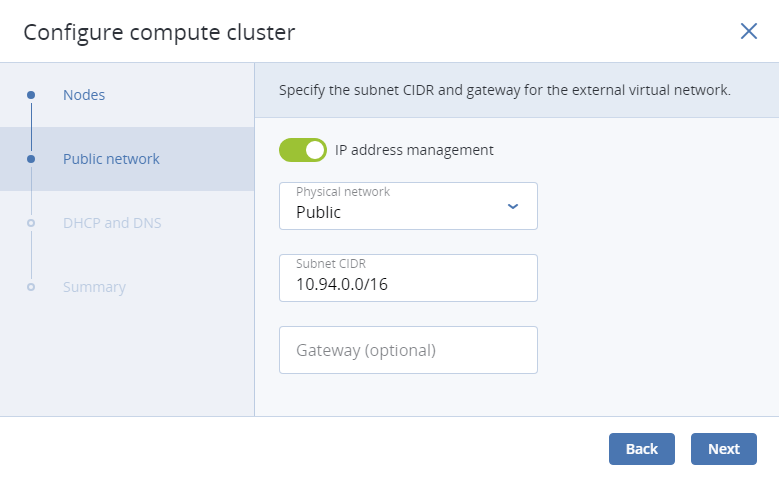
In the Public network section, enable IP address management if needed and provide the required details for the public network.
With IP address management enabled, Acronis Cyber Infrastructure will handle virtual machine IP addresses and provide the following features:
- Allocation pools. You can specify ranges of IP addresses that will be automatically assigned to VMs.
- Built-in DHCP server. Assigns IP addresses to virtual machines. With the DHCP server enabled, VM network interfaces will automatically be assigned IP addresses: either from allocation pools or, if there are no pools, from network’s entire IP range. With the DHCP server disabled, VM network interfaces will still get IP addresses, but you will have to manually assign them inside VMs.
- Custom DNS servers. You can specify DNS servers that will be used by VMs. These servers will be delivered to virtual machines via the built-in DHCP server.
With IP address management disabled:
- VMs connected to a network will be able to obtain IP addresses from DHCP servers in that network.
- Spoofing protection will be disabled for all VM network ports. Each VM network interface will accept all traffic, even frames addressed to other network interfaces.
In any case, you will be able to manually assign static IP addresses from inside VMs.
If you choose to enable IP address management, select a physical network to connect the public virtual network to and optionally specify its gateway. The subnet IP range in the CIDR format will be filled in automatically. If you choose to leave IP address management disabled, select a physical network to connect the public virtual network to.
The selected public network will appear in the list of virtual networks on compute cluster’s NETWORKS tab.
Click Next.
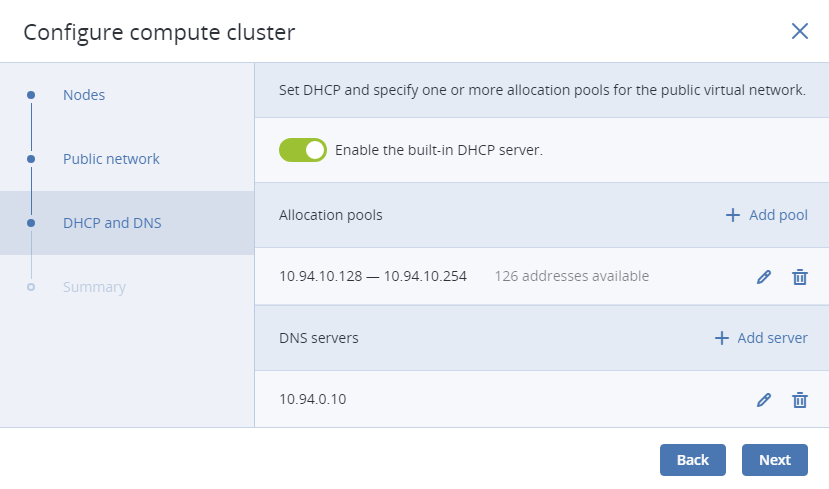
If you enabled IP address management on the previous step, you will move on to the DHCP and DNS section. In it, enable or disable the built-in DHCP server and specify one or more allocation pools and DNS servers. Click Next.
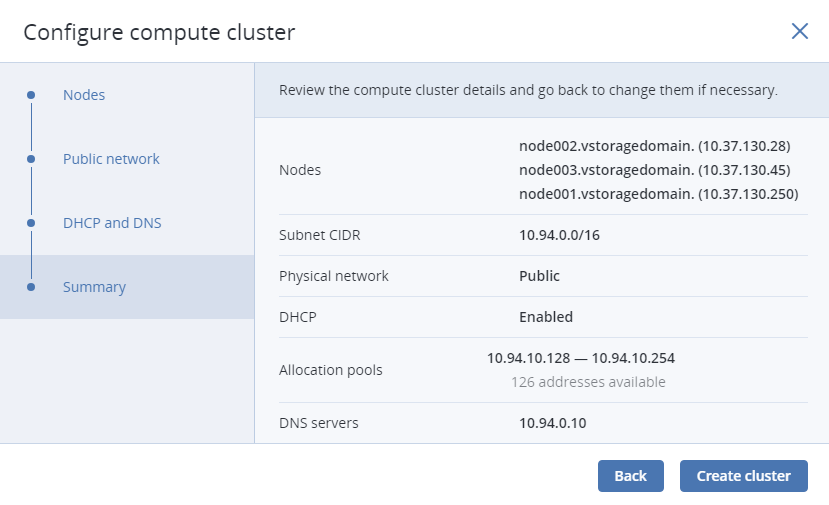
In the Summary section, review the configuration and click Create cluster.
You can monitor compute cluster deployment on the Compute screen.