3.3. Accessing iSCSI Targets from Microsoft Hyper-V
Before connecting an iSCSI initiator of Microsoft Hyper-V to iSCSI targets working in the ALUA mode, you need to install and configure Multipath I/O (MPIO). This feature can be used starting from Windows Server 2008 R2. To connect the initiator, for example, on Microsoft Hyper-V Server 2016, do the following:
Run Windows PowerShell with administrator privileges and install MPIO.
> Enable-WindowsOptionalFeature –Online –FeatureName MultiPathIO
Your server will automatically reboot to finalize the installation.
In the Windows PowerShell console, configure MPIO as follows:
Enable support for iSCSI disks:
> Enable-MSDSMAutomaticClaim -BusType iSCSI
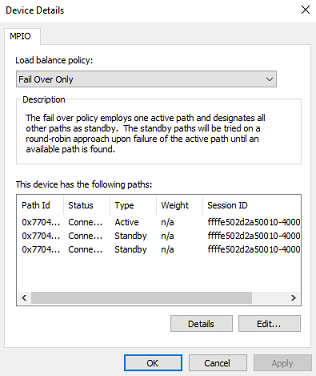
Set the failover policy to Fail Over Only. The policy uses a single active path for sending all I/O, and all other paths are standby. If the active path fails, one of the standby paths is used. When the path recovers, it becomes active again.
> Set-MSDSMGlobalDefaultLoadBalancePolicy -Policy FOO
Enable path verification. By default, the initiator will verify each path every 30 seconds.
> Set-MPIOSetting -NewPathVerificationState Enabled
Reboot the server.
Connect your targets to the iSCSI initiator as follows:
In the Control Panel > System and Security > Administrative Tools > Services window, make sure that Microsoft iSCSI Initiator Service is running and its startup type is set to Automatic.

Launch iSCSI Initiator.
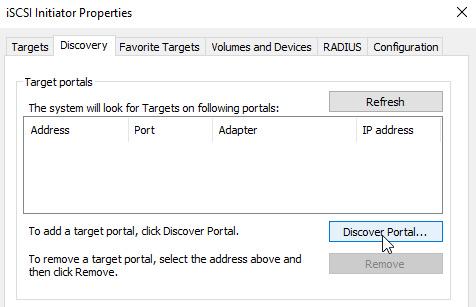
In the iSCSI Initiator Properties window, open the Discovery tab and click Discover Portal.
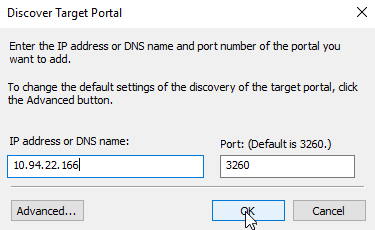
In the Discover Target Portal window, enter the target IP address and click OK. Repeat this step for each target from the target group.
On the Targets tab, click Refresh to discover the added targets.
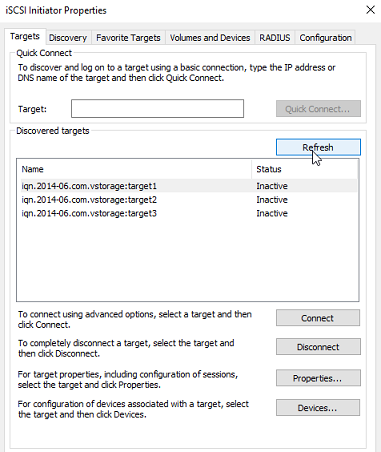
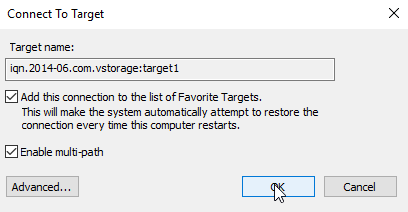
Click Connect for each target to connect it to the initiator. In the Connect To Target window, select the Enable multi-path checkbox and click OK.
On the Targets tab, click Devices.., select the connected LUN, and click MPIO...
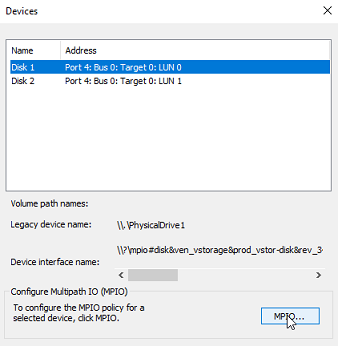
Make sure the connected LUN has several paths.
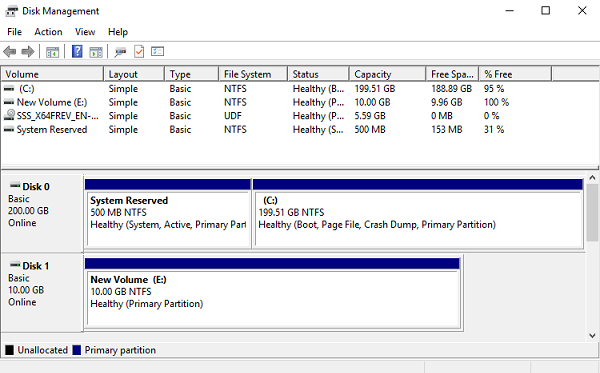
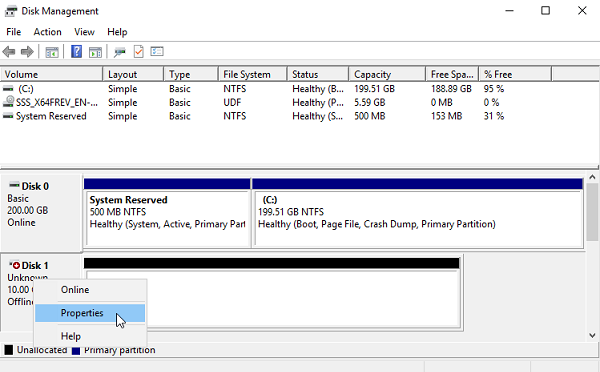
You can now initialize the newly added disk for use in Microsoft Hyper-V. Do the following:
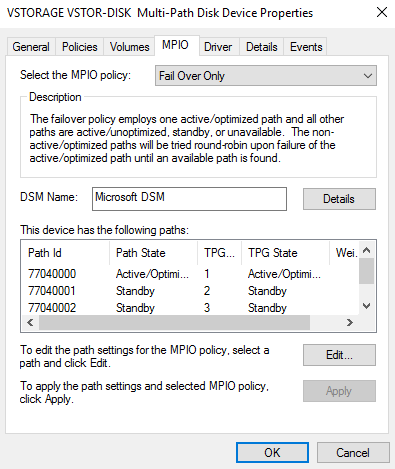
Open Disk Management, right-click the added disk, and choose Properties from the drop-down menu.
Check the settings on the MPIO tab. The first connected target becomes Active/Optimized and the preferred path.
Partition and format the disk as usual.