6. Creating a Virtual Machine
Note
For supported guest operating systems and other information, see Managing Virtual Machines.
To create a VM, do the following:
On the COMPUTE > Virtual machines > VIRTUAL MACHINES tab, click Create virtual machine. A window will open where you will need to specify VM parameters.
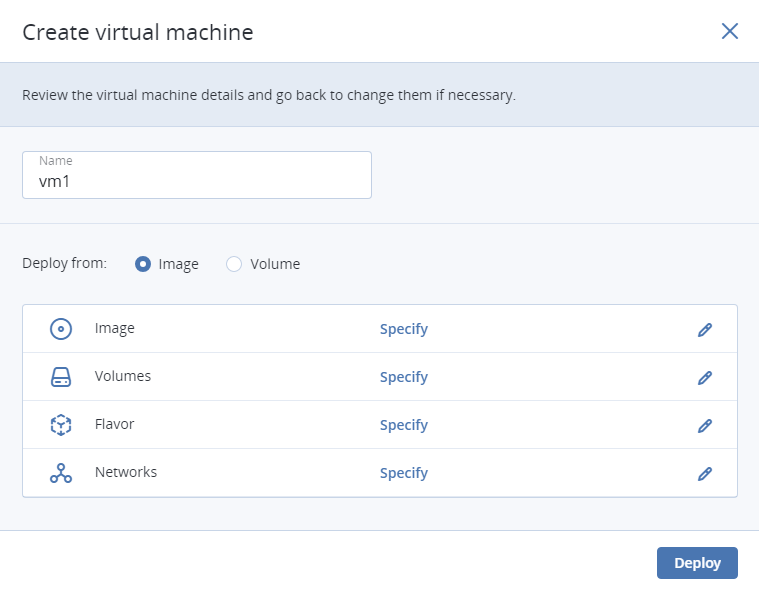
Specify a name for the new VM.
In Deploy from, choose Volume if you have a boot volume or want to create one. Otherwise, choose Image.
Depending on your choice, click the pencil icon in the Volumes or Image section and do one of the following:
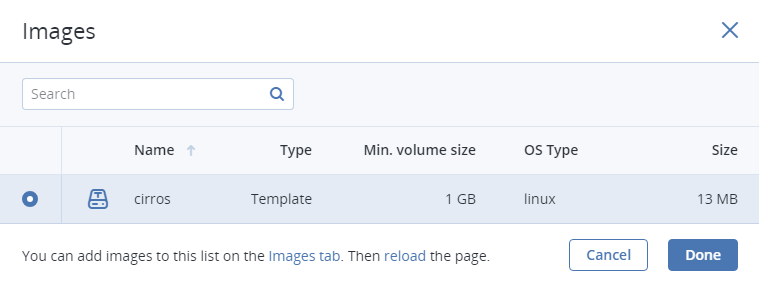
- In the Images window, select the ISO image or template and click Done.
- In the Volumes window, do one of the following:
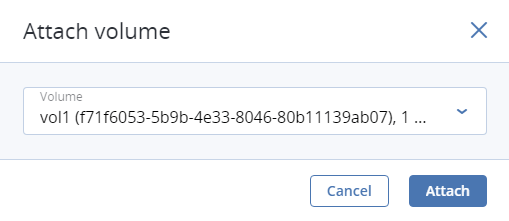
- If you have prepared a volume with an installed guest OS, click Attach, find and select the volume, and click Done.
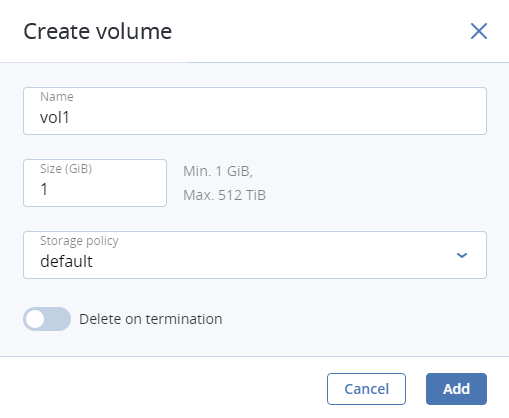
Optionally, in the Volumes window, click Add or Attach to create or attach any other volumes you need. To select a volume as bootable, place it first in the list by clicking the up arrow button next to it.
After you select an image or a volume, the Placement drop-down list is displayed. Placements are created by the administrator to group nodes or VMs sharing a distinctive feature, like a special license. Select the placement corresponding to the VM characteristics. For more information, see Managing Placements.
In the Flavor window, choose a flavor and click Done.

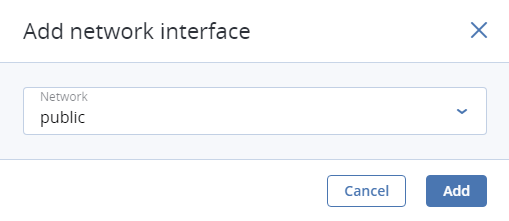
In the network window, click Add, select a virtual network interface and click Add. It will appear in the Network interfaces list.
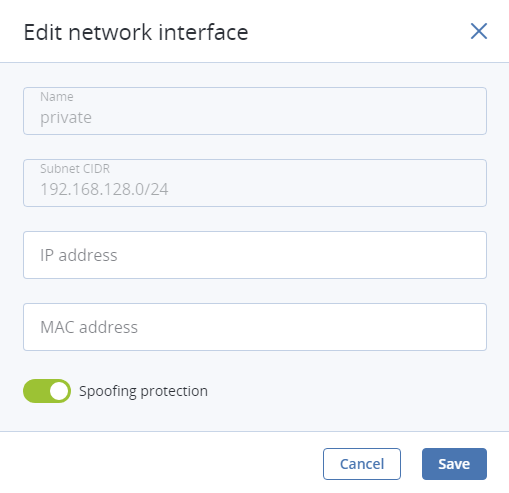
You can edit additional parameters of newly added network interfaces, like IP and MAC addresses and spoofing protection. To do this, click interface’s ellipsis icon, then Edit, and set parameters in the Edit network interface window.

You will not be able to edit these parameters later. Instead, you will be able to delete the old network interface and replace it with a new one.
Click Done.
(Optional) If you are deploying the VM from a template or boot volume (not an ISO image), you can specify the following:
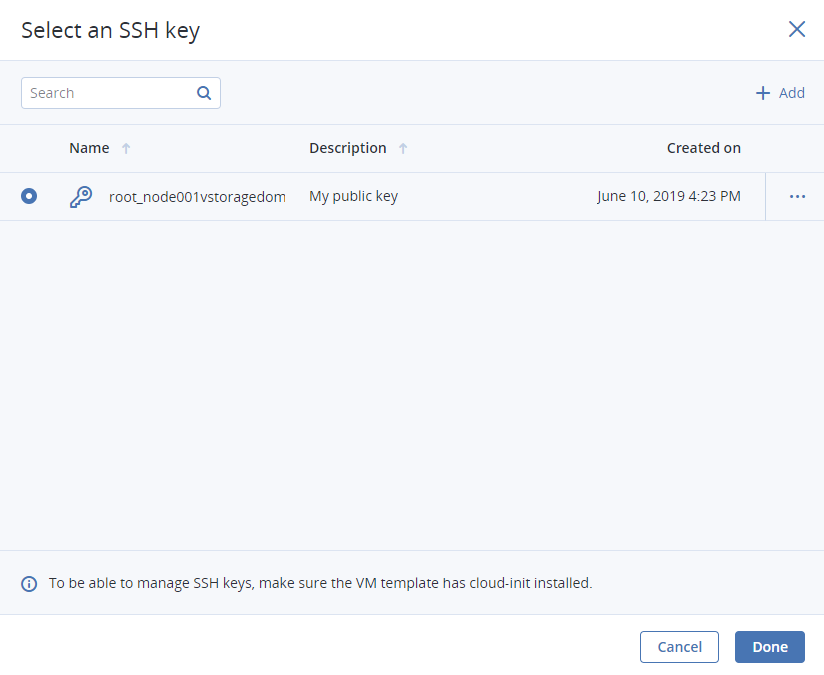
An SSH key to be injected into the VM. To do it, select an SSH key in the Select an SSH key window, and click Done.
Note
To be able to connect to the VM via SSH, make sure the VM template or boot volume has cloud-init and OpenSSH installed (see Preparing Templates).
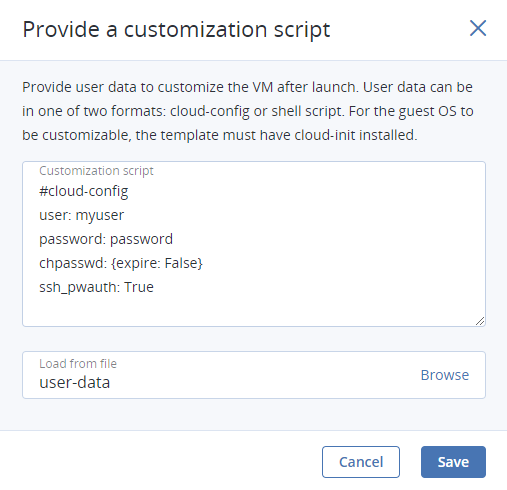
User data to customize the VM after launch. You can specify user data in one of two formats: cloud-config or shell script. To do it, write a script in the Customization script field or browse a file on your local server to load the script from.
Note
For the guest OS to be customizable, make sure the VM template or boot volume has cloud-init installed (see Preparing Templates).
To inject a script in a Windows VM, refer to the Cloudbase-Init documentation. For example, you can set a new password for the account using the following script:
#ps1
net user <username> <new_password>
Back in the Create virtual machine window, click Deploy to create and boot the VM.
If you are deploying the VM from an ISO image (not a boot volume template or a volume with a pre-installed guest OS), select the VM, click Console, and install the guest OS using the built-in VNC console.
(Optional) If you are deploying the VM from a prepared template with an injected SSH key, you can connect to it via SSH using the username and the VM IP address:
- For Linux templates, enter the username that is default for the cloud image OS (for example, for a CentOS cloud image, the default login is
centos). - For Windows templates, enter the username that you specified during Cloudbase-Init installation.
For example:
# ssh myuser@10.10.10.10
- For Linux templates, enter the username that is default for the cloud image OS (for example, for a CentOS cloud image, the default login is