3.7. Step 4: Configuring the Storage Cluster
On this step, you will need to specify what type of node you are installing:
- Choose No, add it to an existing cluster if this is a secondary node that you are adding to an existing storage cluster. Such nodes will run services related to data storage and will be added to the infrastructure during installation.
- Choose Yes, create a new cluster if you are just starting to set up Acronis Cyber Infrastructure and want to create a new storage cluster. This primary node, also called the management node, will host cluster management services and the admin panel. It will also serve as a storage node. Only one primary node is required.
- Choose Skip cluster configuration if you want to register the deployed node in the admin panel manually later on (see Re-Adding Nodes to the Unassigned List).
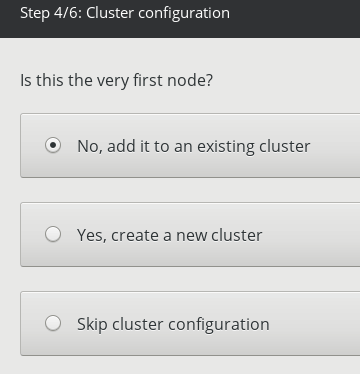
Click Next to proceed to the next substep that depends on your choice.
3.7.1. Deploying the Primary Node
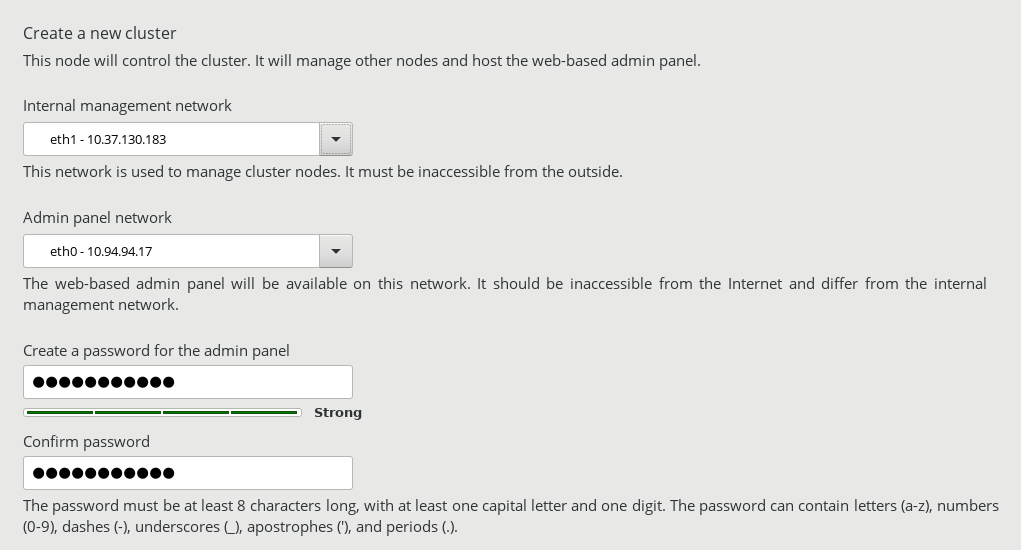
If you chose to deploy the primary node, do the following:
- In the Internal management network drop-down list, select a network interface for internal management and configuration purposes.
- In the Admin panel network drop-down list, select a network interface that will provide access to the admin panel.
- Create and confirm a password for the superadmin account of the admin panel.
- Click Next.
3.7.2. Deploying Secondary Nodes
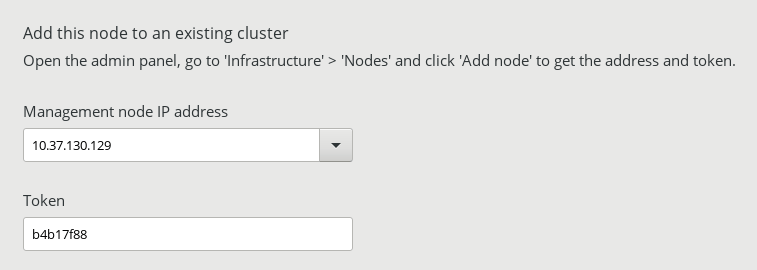
If you chose to deploy a secondary node, you will need to provide the IP address of the management node and the token that can only be obtained from the cluster admin panel. A single token can be used to deploy multiple secondary nodes in parallel.
To obtain the token and management node address:
Log in to the admin panel on port 8888. Panel’s IP address is shown in the console after deploying the primary node. Use the default user name shown on the login screen and the primary node’s root password.
If prompted, add the security certificate to browser’s exceptions.
In the admin panel, open INFRASTRUCTURE > Nodes and click ADD NODE to invoke a screen with the management node address and the token.
Note
You can generate a new token if needed. Generating a new token invalidates the old one.
Back on the installation screen, enter the management node address and the token and click Next.
The node may appear on the INFRASTRUCTURE > Nodes screen in the UNASSIGNED list as soon as token is validated. However, you will be able to join it to the storage cluster only after the installation is complete.